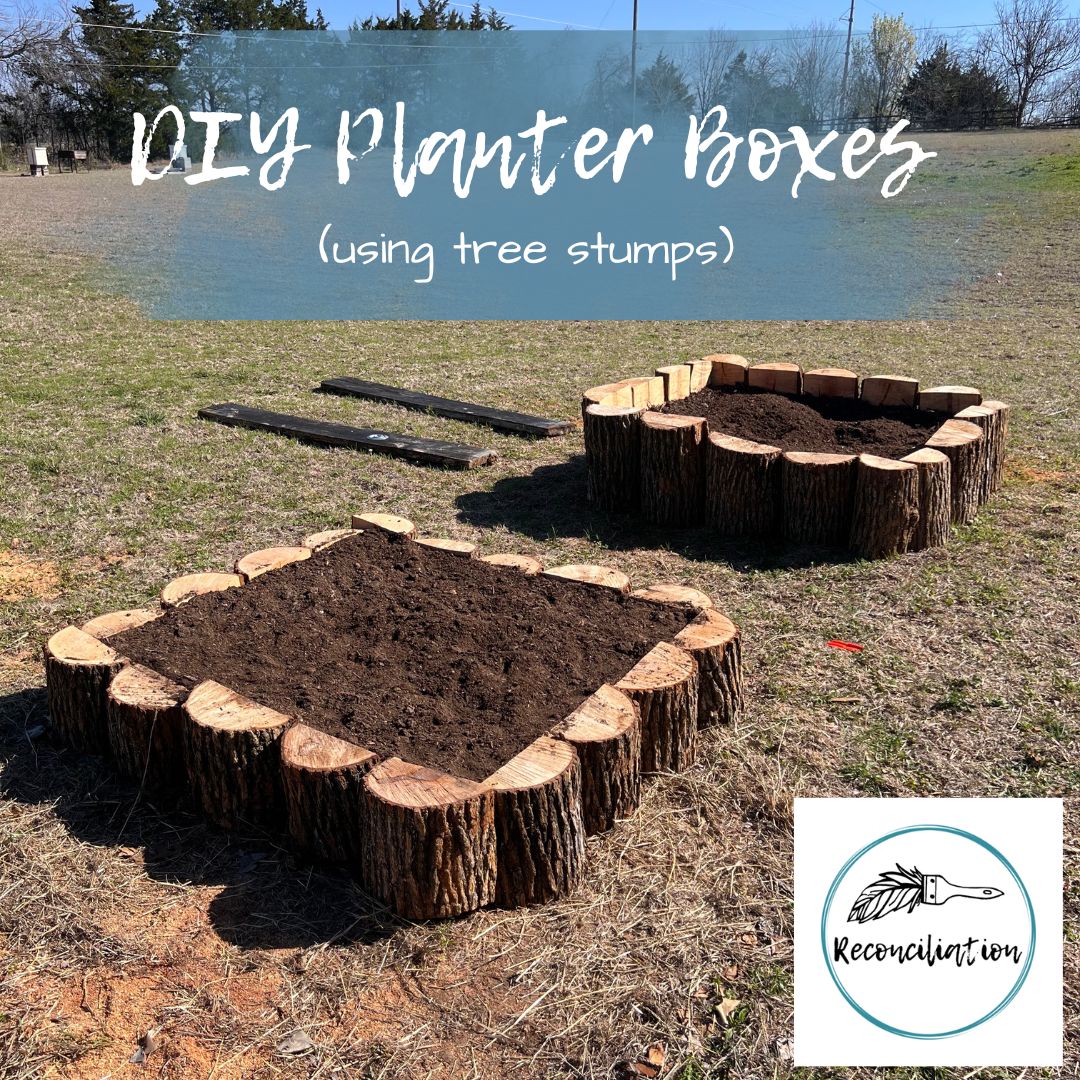
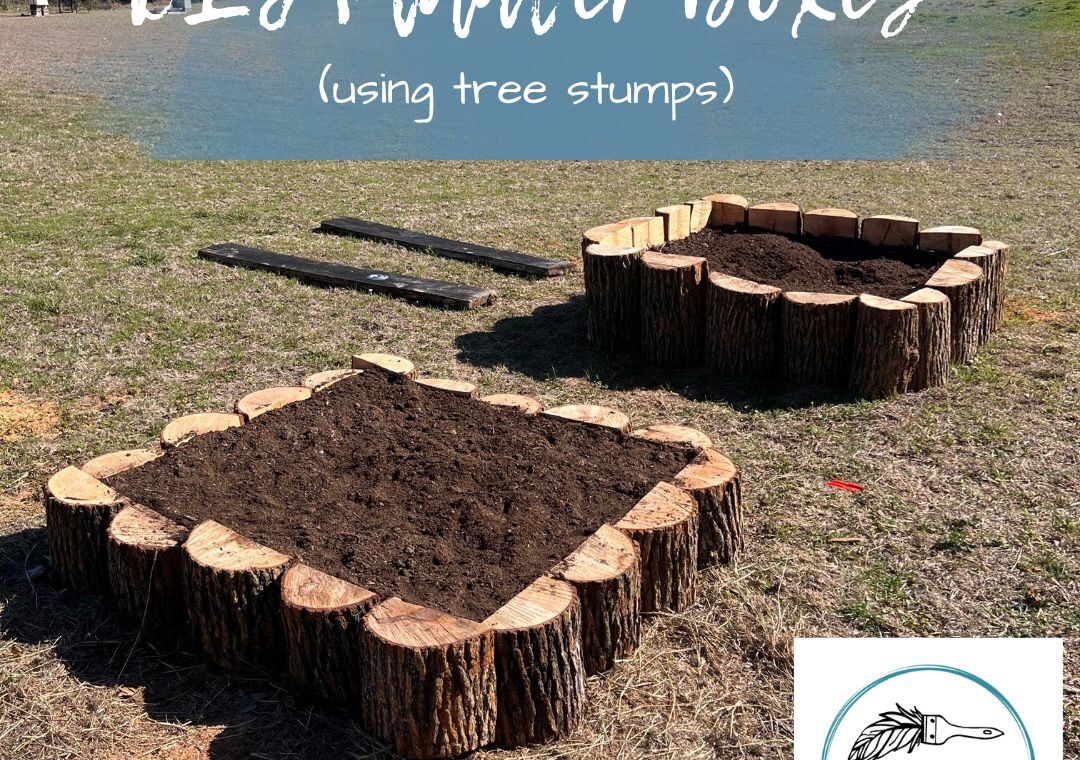
Want to learn how you can build these easy, budget friendly garden planter boxes using tree stumps!? You have come to the right place! Let’s getrdone!
The Backstory: We bought our home during the COVID pandemic and one thing that drew us to this property was the trees! Unfortunately, we had to cut down 4 extremely large trees that were causing damage to the house. I knew I wanted to use the trees in a unique way somehow and I had plans to start working on the layout for a large garden behind my workshop so using what I had on hand- this is what I came up with.
First you are going to want to determine where you want these planters to go because there is no moving them once they are built. I am using these for cut flowers so I put mine in a full sun location directly behind my workshop.
Step No.2- Cut Wood Logs to size
Next, determine how tall you want each log to be. You want your logs to be at least 2x the length of your pallet height + scrap wood. Using a chain saw, cut down your logs to your desired height. Once you have your logs cut to your desired height you will then cut them in half length ways.
(For a visual you can check out the video of this build below)
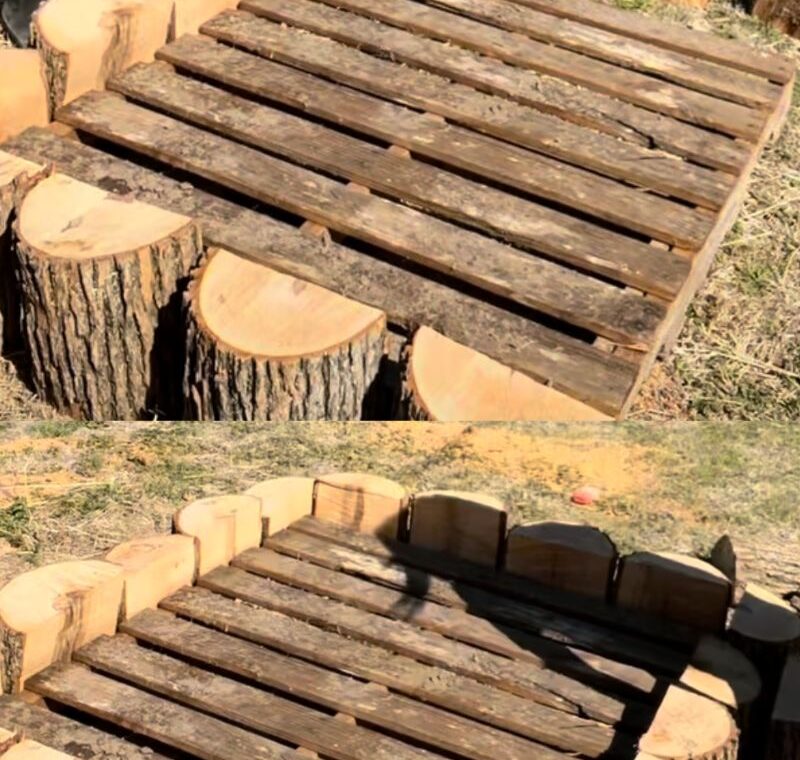
Step No.3- Assemble Wood logs around pallet
Next, I started taking my cut logs and placing them around my pallet. I interchanged logs on each side until I got the right combination of sizes together on each side of the pallet- Its not a big deal if you have a little overlap on your edges (I wasn’t going for perfect- just creative!)
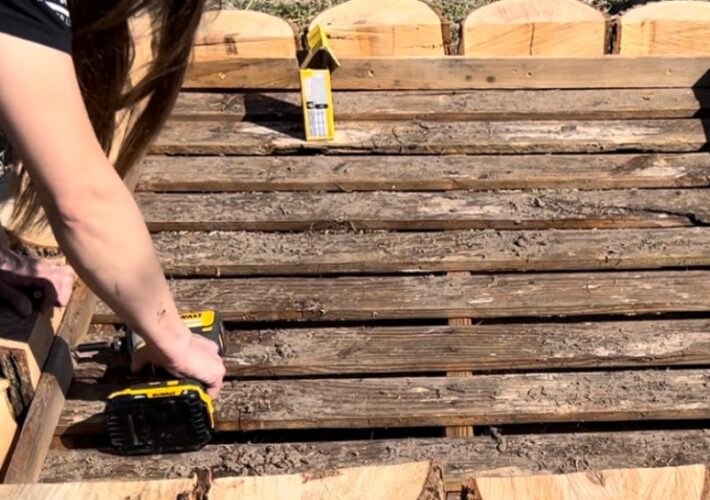
Step No.4- Securing logs to the pallet
Using my favorite circular saw, I cut some scrap wood to secure the logs together and hold them flush with my pallet. I used 1-2 screws per log.
Step No.5- landscape liner
Using a box cutter, I then cut my landscape liner to size. (I did not use landscape fabric because I didn’t want to go to the store, you will see in the video that I am actually using sheeting left over from our roof replacement job, but the right way to do this would be to use landscape fabric for proper drainage, I had to add an extra step by poking a bunch of holes in this sheeting for drainage.)
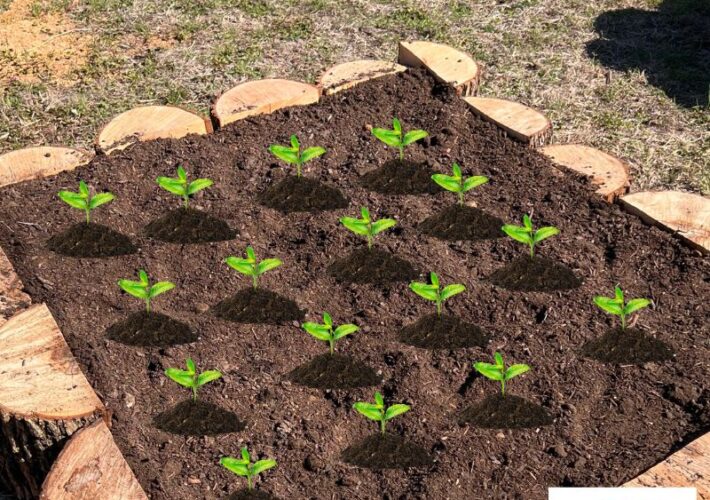
Once your fabric liner is secured, its time to add some garden soil! Time to plant! I am using these to plant a large cut flower garden! I planted zinnias and dinner plate dahlias in mine! I cant wait to see the flower start to bloom!
I hope that you found this tutorial helpful & would love your feedback! If there is a particular topic, product, technique, etc. that you would find helpful, please leave a comment or send me an email!
As always, I am here to help! Welcome to the tribe!