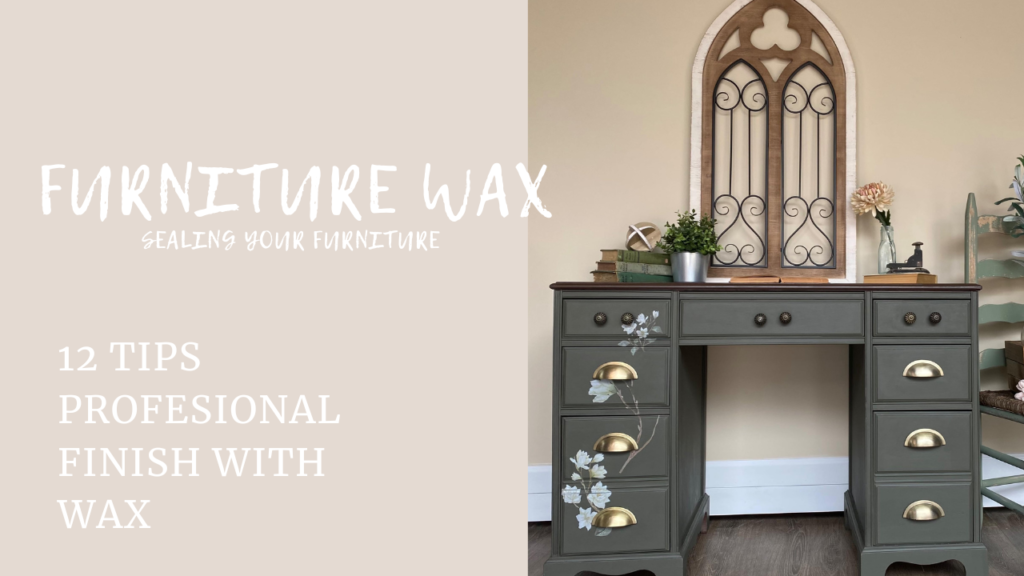
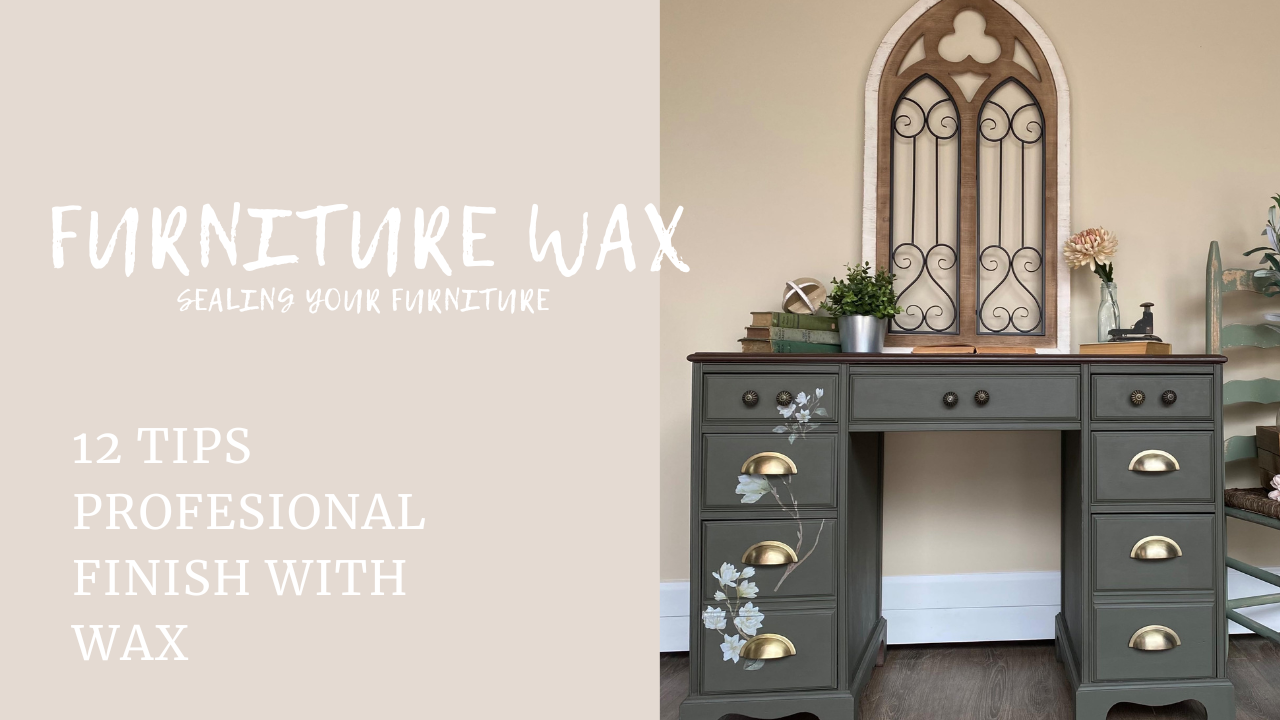
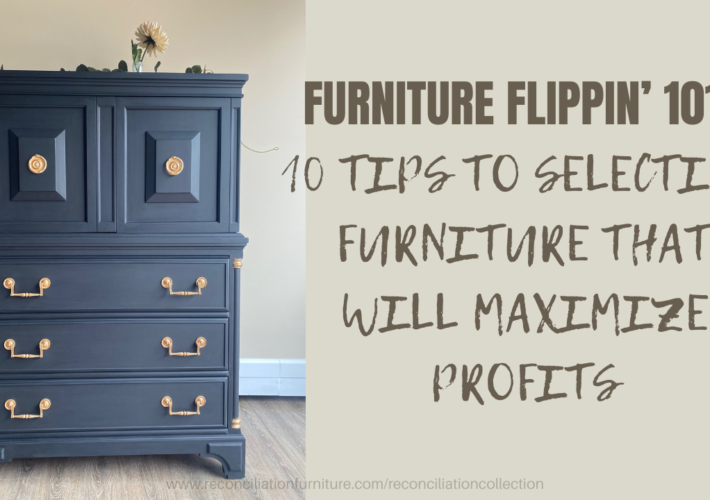
FURNITURE FLIPPING 101: TOP CAOTS & SEALERS <<FURNITURE WAX>>
Everything you’ll ever need to know about WAX top coat to seal your painted furniture… and tips that will have you applying that top coat like a PRO!
Happy Friday & Welcome to the Reconciliation Furniture BLOG- I am Savannah- Owner of the Reconciliation Furniture flipping brand. If you are looking to tips & tricks, product recommendations, furniture flipping, DIY, Home remodels, and the like… or if you just happen to be a BADASS mammerjammer… then this blog is for you!
If you are a returning reader, WELCOME BACK TRIBE!
Thank you so much for your continued support & please drop a comment if there are any topics you’d like me to talk about! The blog is for YOU! So tell me what you’d like to read about it!
Help a girl out: Constructive feedback is always welcome! Please let me know how I can make these posts work best for YOU! I am not the best writer but I am a seasoned DIY & furniture flippin hustlla babyyy, so come here for the education, community and resources! I will try my best to deliver this information in a way that is fun to read but I felt the need to set some clear expectations, up front!
Furniture flipper, yes.
Writer, no.
I am a zero bullshit, honest, hardworking #diymom #diyfurnitureflipper, #diyhomerenovator, #diywife, #resourceful, #bugetfriendly, #natureloving, #mentalhealthadvocate, #bossbabe that tends to need to make mistakes myself & this is my outlet to share my successes, failures and inspiration to pave a smoother course of action on their unique DIY ventures.
With that, Lets dive into our topic for this post.. Sealing & protecting your painted & refinished furniture with polyurethane top coat sealers.
furniture flipping 101: FURNITURE WAX Top CoatS
Everything you’ll ever need to know about using FURNITURE WAX top coat sealers to seal your painted furniture… and tips that will have you applying that top coat like a PRO!
Reconciliation Furniture: How to Seal furniture with Polyurethane Top Coats
Hey there, fellow DIY tribe!
Ready to add that flawless finishing touch to your furniture flips? Today, we’re diving into the wonderful world of polyurethane top coats. But before we jump into the nitty-gritty, let’s have a quick chat about what these magical coatings are and why we can’t live without them.
The two most commonlyused top coats are Polyurethane & wax. In last weeks post, we covered Polyurethane- Today, we will be focusing on furniture WAX top coats.
What is a Furniture Wax?
Before we dive into the tips, let’s quickly chat about what this stuff even is. Furniture wax top coats are like the icing on the cake for your DIY projects. They’re made to seal and protect your painted or refinished furniture, adding durability and a lovely sheen. Plus, they can enhance the color and give your piece that oh-so-desirable vintage vibe. It’s like magic in a tin, folks.
Now, let’s get down to business with these 12 easy-peasy tips to make your furniture flips shine!
Furniture wax: 12 Tips & tricks to the perfect finish
No. 1 – prep like a pro
Before you bust out the wax, make sure your piece is clean and dry. No one wants a layer of dust trapped under their top coat. Gross.
No. 2 – Less is more
A little dab’l do ya! You don’t need to slather on the wax like you’re frosting a cake. A thin, even coat is all you need for maximum effect.
No. 3 – buff baby, buff
Once you’ve applies your wax, grab a clean LINT FREE cloth and buff it to perfection. It should feel like you are wiping the wax off.
No. 4 – Patience ladies, patience.
When it comes to patience, I have none… but hey! “Here’s my advice, take it, I’m not using it” LOL
Don’t rush the drying process. Let your wax properly cure before you start moving furniture around or setting things on top… I still try to get away with taking pictures of my freshly waxed furniture to get a jump on my listing & selling set-up and 75% of the time- I have to go back and take pictures again once the furniture wax has cured. This is because the furniture wax is going to be slightly visible until its had time to fully cure. The light picks this up in your photos and its not pretty… give it a couple days to even out…
No. 5 – Touch ups are okay!
If you spot any imperfections after your wax has dried, don’t stress. You can always touch up those spots with a bit more wax.
No. 6 – Experiment with techniques
Get creative with your application! Try different techniques like layering or distressing with black or antique wax to achieve an original look! It’s your furniture, your vision and your art. No one ever changed the world by coloring in the lines.
No. 7 -the right applicator
Opt for a natural bristle brush when applying your furniture wax. They’ll give you better control and a smoother finish. Plus, they’re eco-friendly- win, win!
TIP: Use a different brush for clear wax and colored waxes to prevent cross contamination.
no. 8 – Avoid direct sunlight
Keep your freshly waxed furniture out of direct sunlight, as it can cause the wax to melt or discolor over time. Nobody wants a sunburned side table!
No. 9 – Keep it clean
Once your wax had cured, maintain that gorgeous finish by regularly dusting and cleaning your furniture with a soft cloth. Avoid using abrasive chemicals on waxed furniture- it can eat through the wax overtime.
No. 10 -Layer for depth
Want to add some depth and dimension to your piece? Try layering different shades of wax for custom look that’s sure to impress. It’s like a contour palate for your furniture. Use black wax on details to highlight areas of focus or create a worn-aged look by using a combination of highlighting and blending in heavy use areas.
No. 11 – Black wax & antique wax
Lets talk about using black wax and antique wax. There can be some fear associated with using this technique for fear of messing up the fresh paint job you just finished but I am going to give you a handful of tips to ease your concern. Here are some troubleshooting techniques for solving problems you may run into when dealing with wax application:
Tip 1: Mix black/ antique wax with clear wax.
Tip 2: Using a disposable plastic spoon or popsicle stick- scoop a generous amount of wax onto a disposable plate to use for loading your brush with wax & mixing waxes together. (DONT DIP YOUR BRUSH DIRECTLY INTO THE ORIGINAL CONTAINER- this can contaminate the wax and cause future projects to look discolored.
Tip 3: Seal your paint job first before applying dark wax to details- If you mess up by putting too much wax , you can recover without having to repaint! If you apply the black or antique wax directly to the paint- you will end up removing paint and altering the paint job when you try to remove it.
Tip 4 : Start with a little and then add more if you want to darken… remember, its easy to go darker but it is difficult to go lighter.
Tip 5: If you put too much black wax in an area and would like to lighten it- wrap a lint free cloth around your finger, dip it into a little clear wax and buff the area in a circular motion. This is going to help lift and dilute the black waxed area.
Tip 6: Use a small detail bush to apply dark wax into crevices and details- then take a separate clean detail brush to buff it into those cuts.
No. 12 – embrace imperfections
Finally, remember that perfection is overrated and non-existent… Embrace the imperfections and quirks that make your piece unique. After all, that’s what DIY is all about!
There you have it, folks! With these 12 simple furniture wax tips, you’re well-equipped to tackle furniture wax applications like a seasoned pro. So grab your brushes and your favorite poly top coat & let’s seal the deal on some stunning furniture flips! Now, with the help of wax, your artwork will be protected to last for years to come! Remember, the only limit to your creativity is your willingness to try.
View all of these wax & furniture sealing product recommendations all in one place- Click on the LINK: “furniture sealers & top coats” toview all of these products side by side on my amazon storefront!
These are my go to brands when purchasing wax for my furniture flipping business! These manufacturers are backed by trusted brands & have always met or exceeded my standards for quality. Any choice from this list will give you a flawless finish!
I hope that you found this post helpful & would love your feedback! If there is a particular topic, product, technique, etc. that you would find helpful, please leave a comment or send me an email!
As always, I am here to help! Welcome to the tribe!