I have been flipping furniture (for profit) since 2019 & am finally ready to share some of the knowledge I have gained from my own successes & failures.
In this blog post, I will share step by step how to replicate this furniture flip with product links! You will also find a huge learning opportunity with a problem that came up during this flip- Find out what that problem was & how I fixed it!
HAPPY FLIPPING!
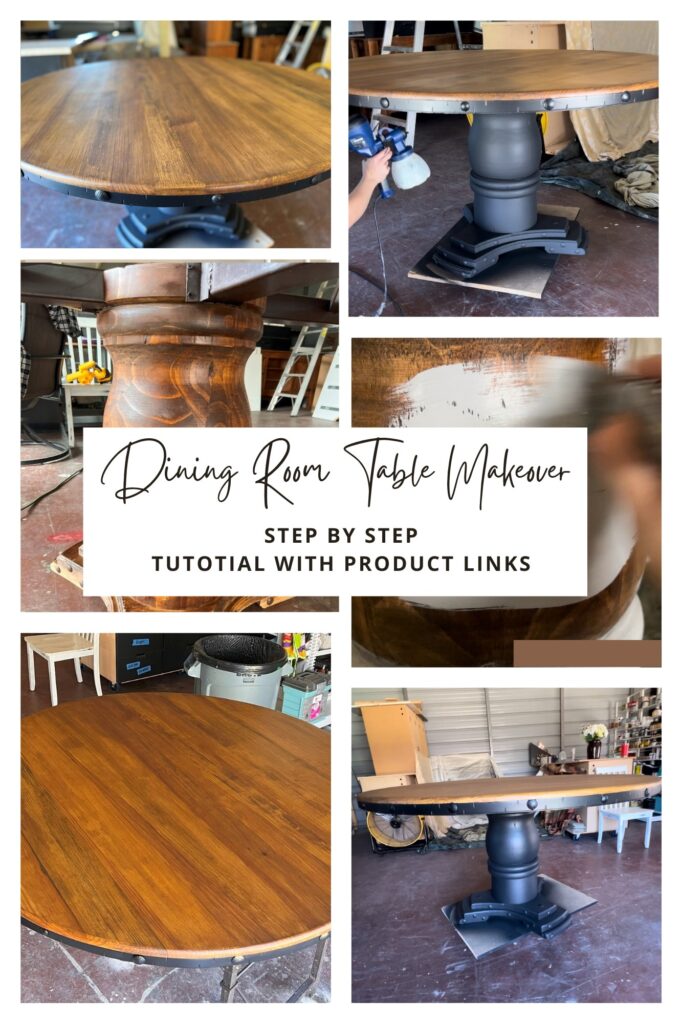
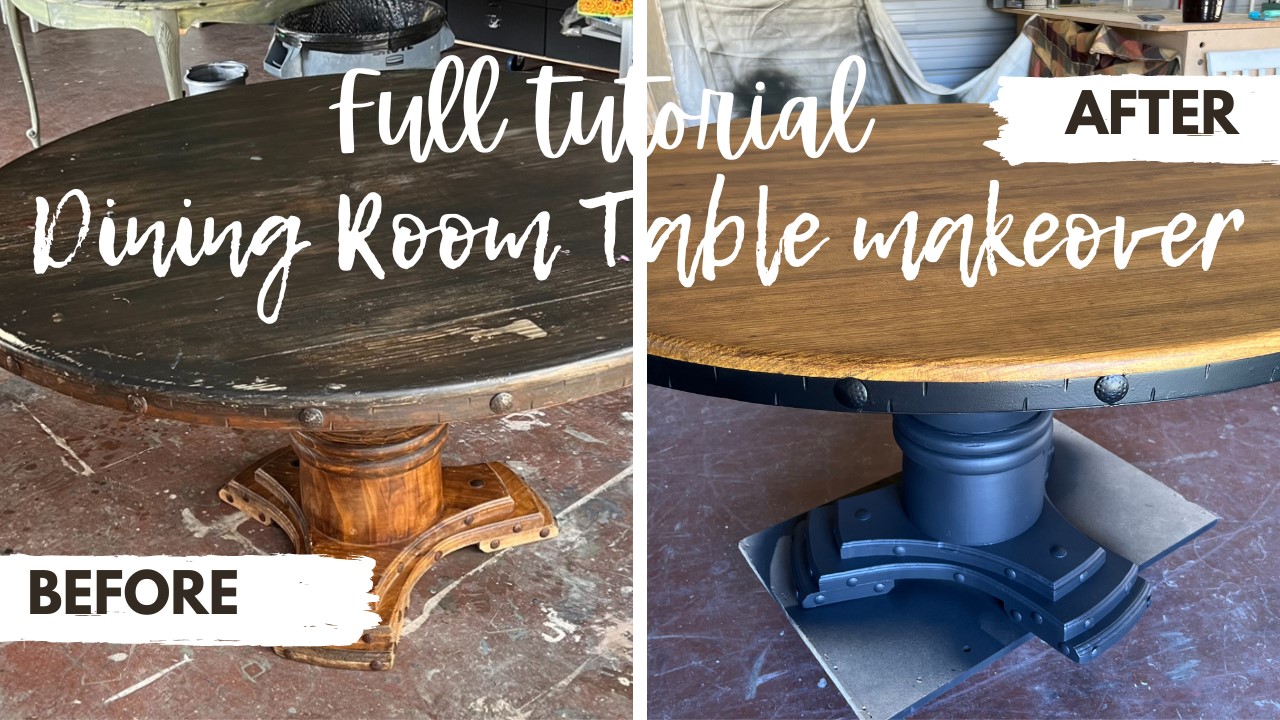
BLACK & STAINED DINING ROOM TABLE MAKEOVER: FULL TUTORIAL
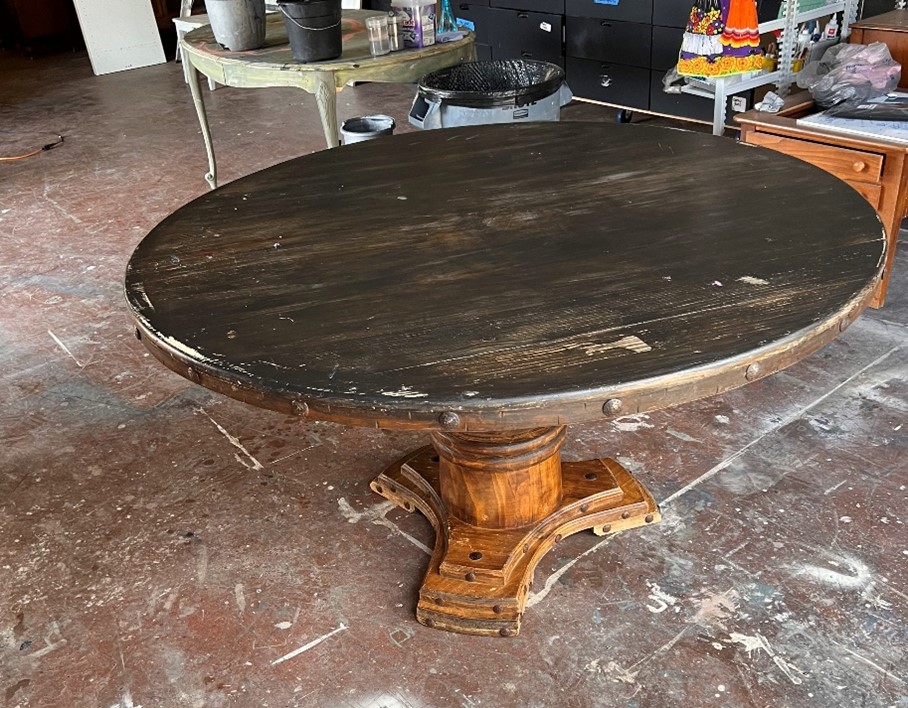
Furniture Backstory:
A friend of mine scored this table off Facebook Marketplace for $100.00! She asked me if I could help her bring it back to life and of course I was up for the challenge!
Client Request & Inspiration:
– Black painted base
– light semi-transparent stain (she really wanted to be able to see the wood grain)
– Replacement of Metal decorative nails that were missing
Just from the pictures provided of the table- all of her requests appeared to be doable. I did however, mention that in the chance the wood was in bad shape- we would have to come up with an alternative application method to achieve the look she wanted while assuring her that in the end, I would make sure that table ended up being beautiful.
I started with a thorough clean using Dixie Belle Paint CompanyWhite Lightening Cleaner and a microfiber rag.
Then, I taped off the metal edge before using the oven cleaner stripping method to help remove as much of the original stain as possible before taking my sander to it.
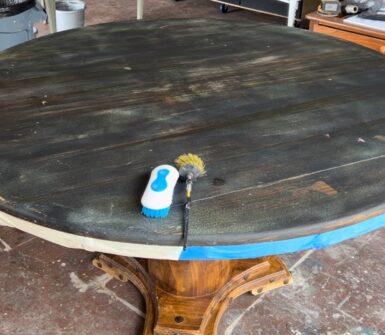
Step 2: Oven Cleaner Stripping Method
I sprayed a heavy coat of oven cleaner to the surface, let it do its work for about 20 minutes and then started scrubbing with a scrubbing brush. (I got the scrubbing brush I’m using from the Dollar Tree but a did provide a link to one available on Amazon)
I gave it a really good scrubbing and used a wet microfiber rag to remove the build up. Once I had wiped off all of the build up from the oven cleaner- I set up my shop fan to help with the drying process.
Step 3: Sanding
2 hours of sanding later & I was finally able to get a good look at the condition of the wood I was working with & what I found was going to create some challenges.
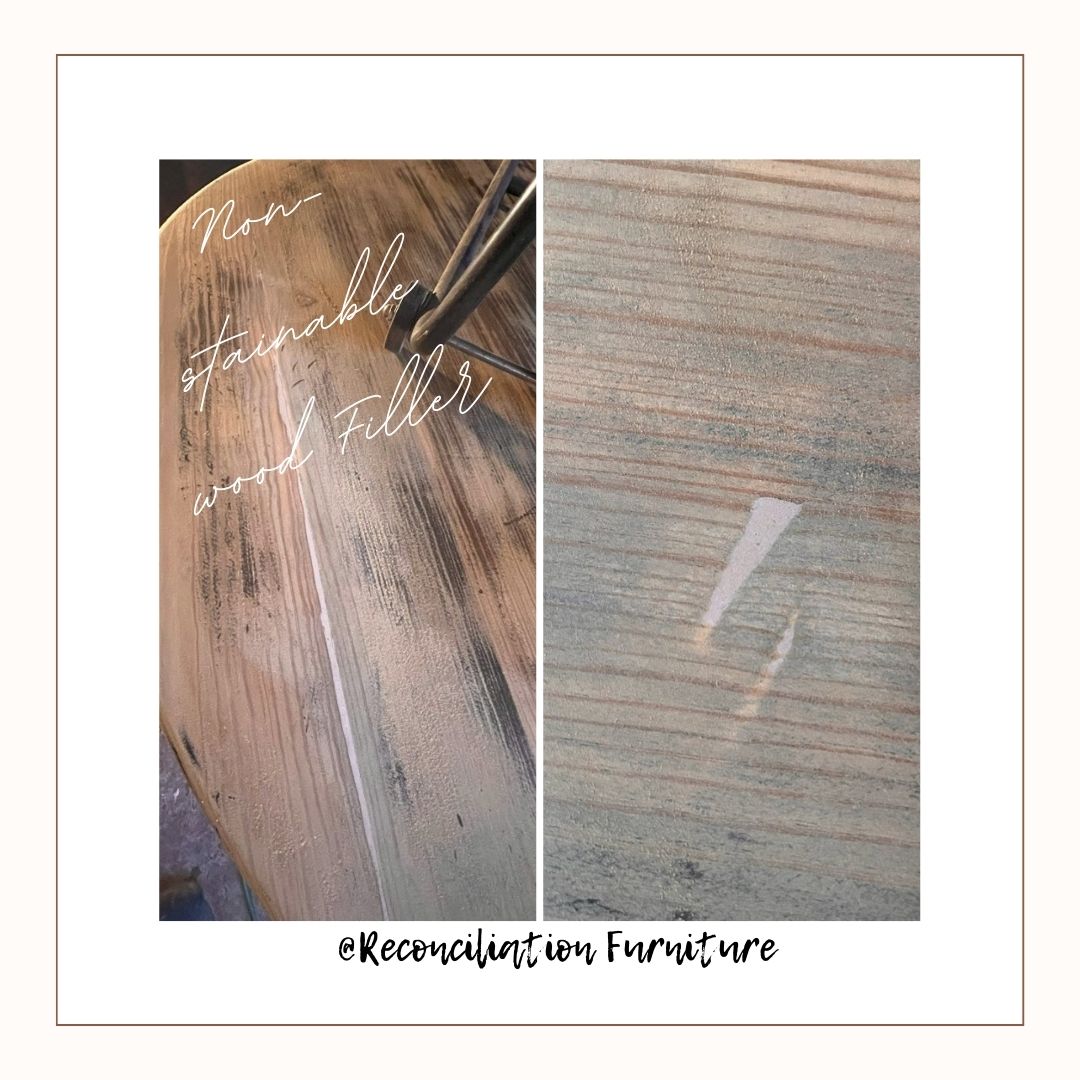
PROBLEM 1: It appeared that a non-stainable wood filler was used to make some repairs at some point…In order to accomplish the light stain request- I was going to have to get creative…
I grabbed a couple pieces of scrap wood & added some Bondo wood filler (non-stainable)- then I tested a handful of techniques & stain combinations to see what my best option for covering these areas was going to be… unfortunately, nothing I tried was going to cover these areas…
Step 4: Wood Filler Removal & Repair
After exploring multiple options with no luck, I ended up deciding to cut out the wood-filled areas so that I could repair with a stainable product. I used an exacto knifeto carefully cut & chip away at all the areas where this non-stainable wood filler was present..
I then finished my sanding of the wood top by going from 40grit moving all the way gradually changing grits to a 220grit… This process took approx. 7 total hours to complete… I was removing several layers of stain that were previously applied to this wood…
To repair the areas that I cut out- I used a custom tintable wood filler by DAP using a separate container to mix the compound with the stain mixture I planned to use.. because I there was no way of knowing what the exact color would look like once I applied it to the table until I actually applied it… I decided to make the filler color a little darker than I planned to stain the table- A color that would match closer to the natural darker grain in the wood… My hope was that I could mask the large gap as a natural part of the wood grain rather than trying to make it a part of the end stain color…
Once the filler was dry– I then sanded the areas down with a 100 gritand then 220 grit until it was flush and smooth with the rest of the table.
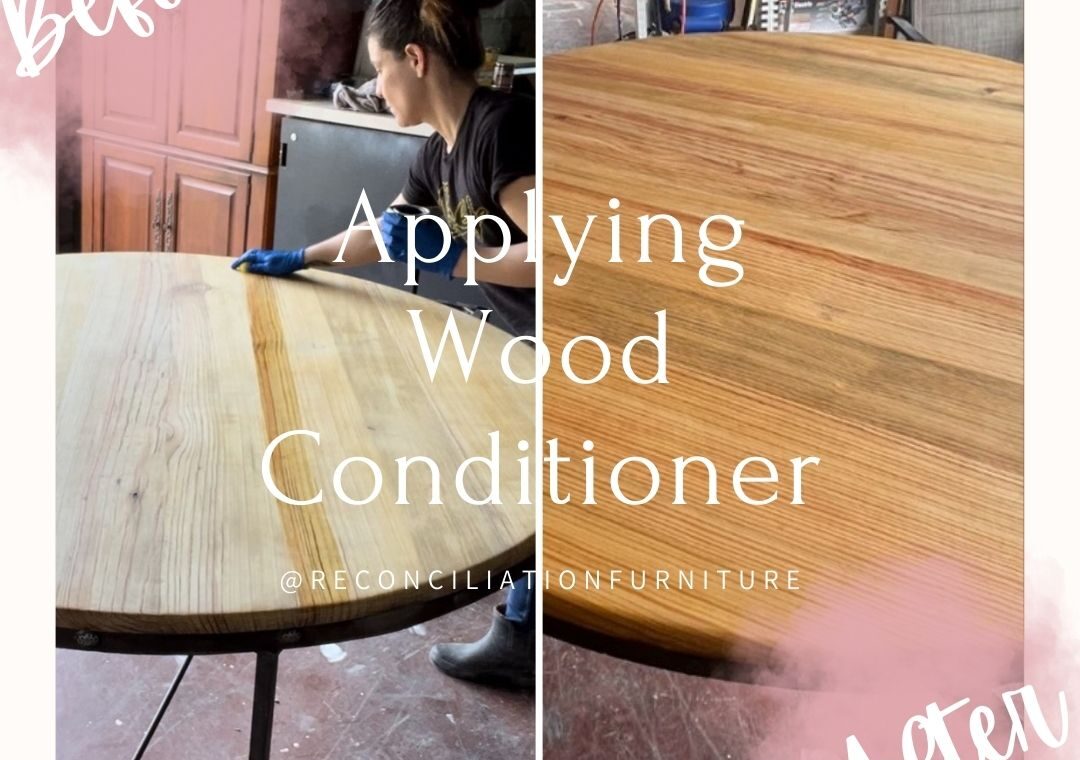
STEP 5: WOOD CONDITIONING
Next, I applied my wood conditioner. I applied my wood conditionerwith a clean old sock. If you don’t have a pair of old socks- use a staining pad or lint free rag.
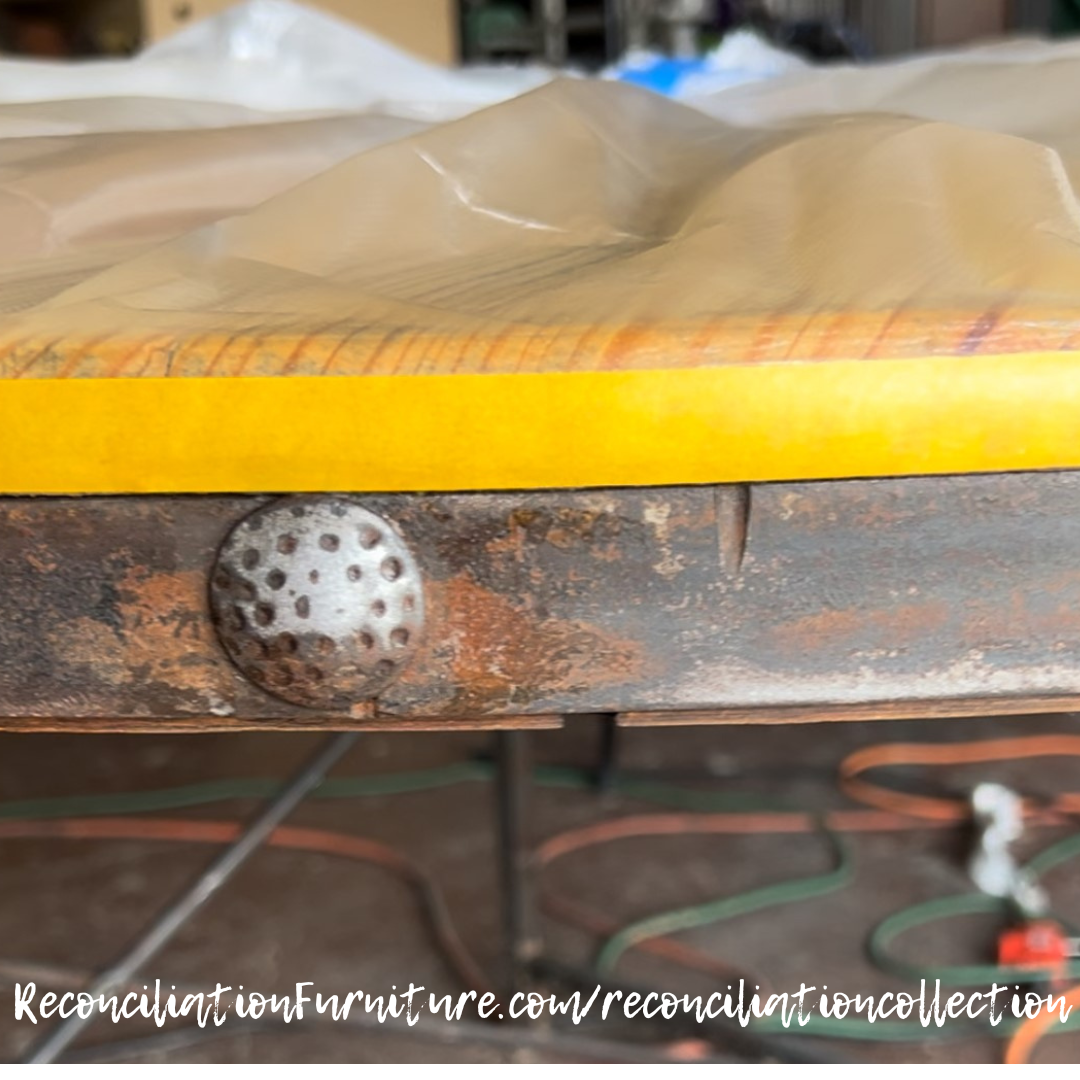
step 6: Metal Spray Paint
Once this was dry, I decided to get the metal rim around the tables edge painted before I stained- My thought here was that, if for some reason I had any over shoot under the tape onto the unfinished wood- It would be easier for me to fix this before I stained…
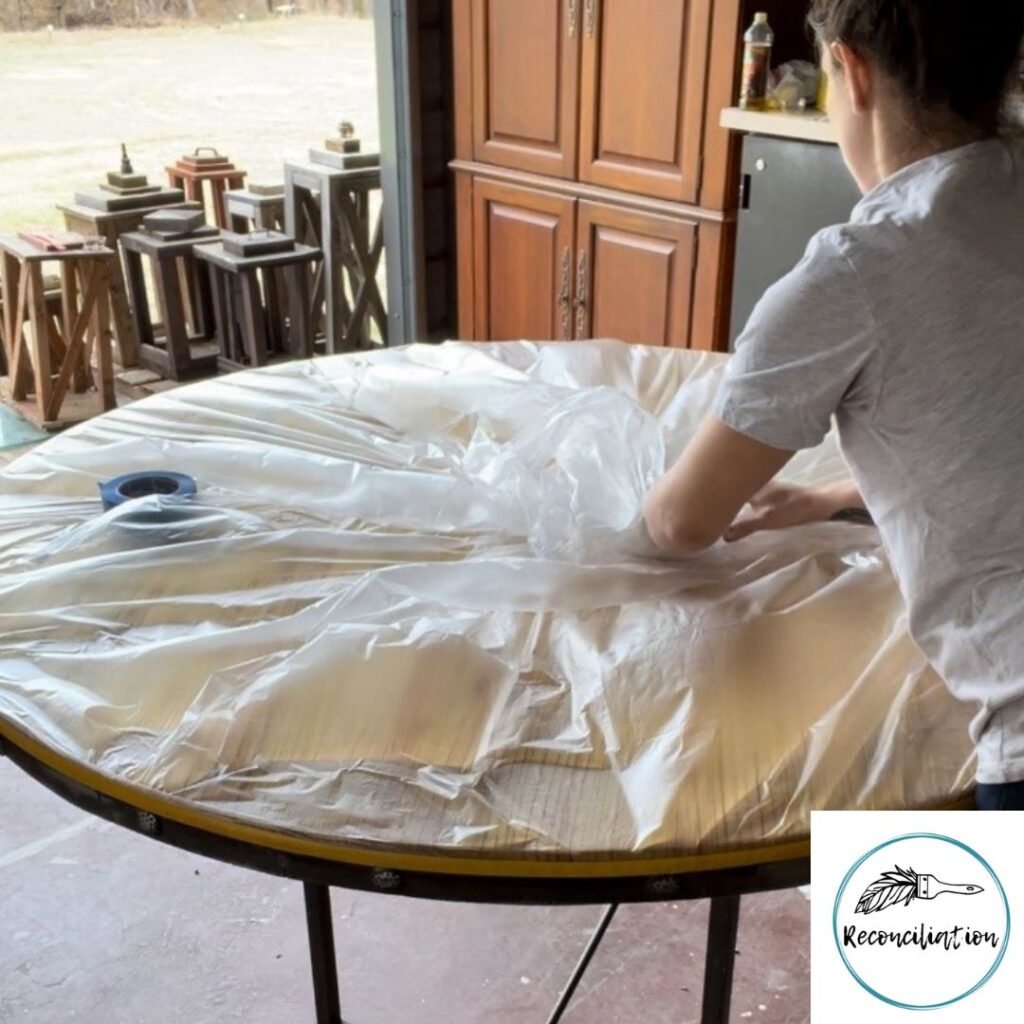
For this step, I took my pre-taped plastic and wrapped the top up tight. I then scuffed the metal with a general purpose sanding pad & cleaned with somelaquer thinner and a rag. I then took myMatte finish spray paint and applied multiple coats until I achieved full coverage. Once this was dry, I removed the plastic and was ready to start staining.
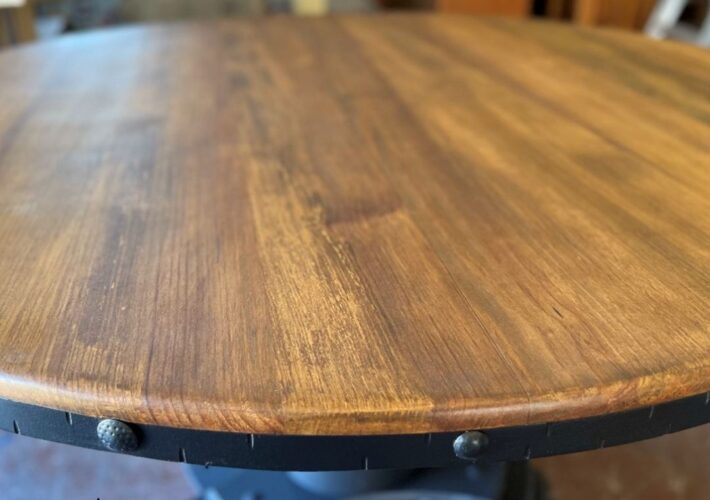
STEP 7: STAINING THE WOOD TOP
I used a custom mixture of Minwax stains in the shades Early American andGolden Pecan to create a light stain that would have a dark enough tint to mask the uneven transitions of the wood that were joined together.
Once this stain was dry, I applied a second coat of the Minwax stain mixture….
I will be writing a post about applying wood stain in the future- so check back for that!
PROBLEM 2: Unfortunately, due to the high concentration of sap that emerged during sanding, I needed to come up with a creative way to even out the color.
STEP 8: using glaze to even out the color
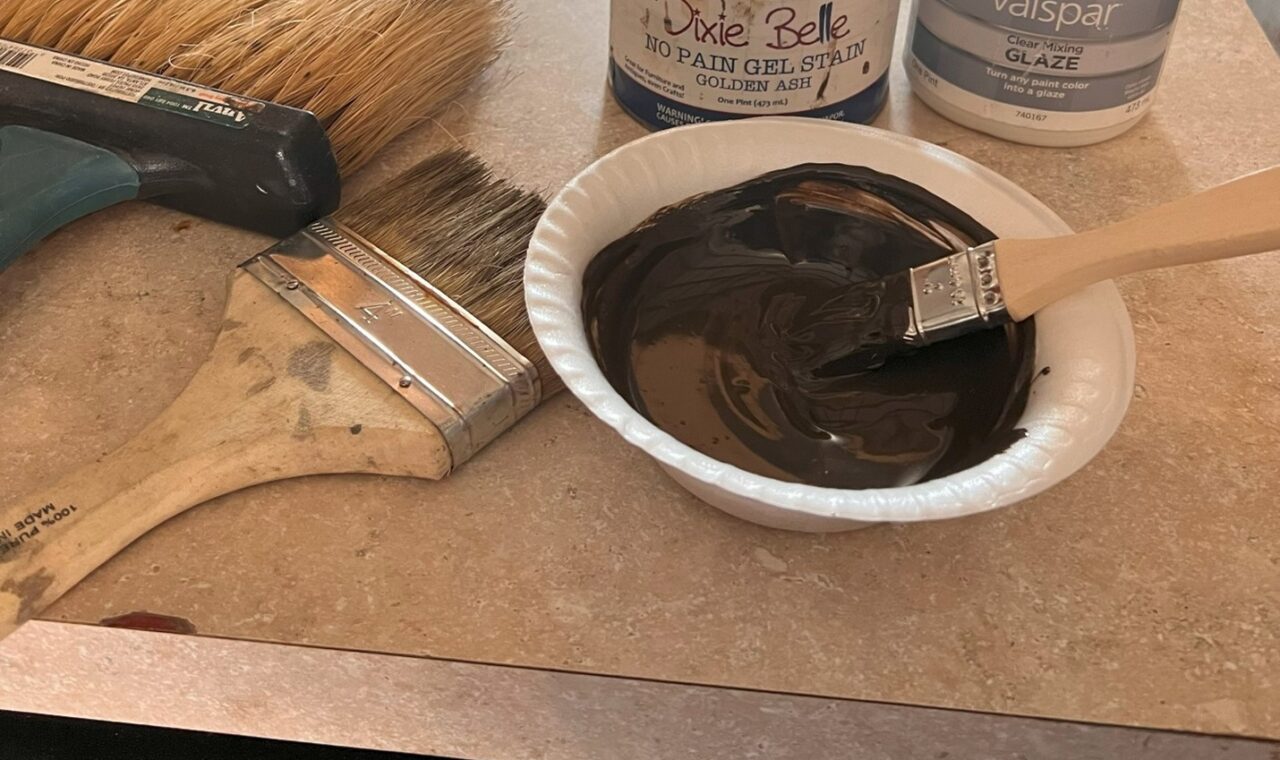
Using what I had on hand, I mixed a 1:1 ratio of no pain gel stain in the color (golden ash) with some clear glaze– I then brushed this glaze mixture on using coarse bristled brushes in the same way you would to accomplish the “faux stained” technique.
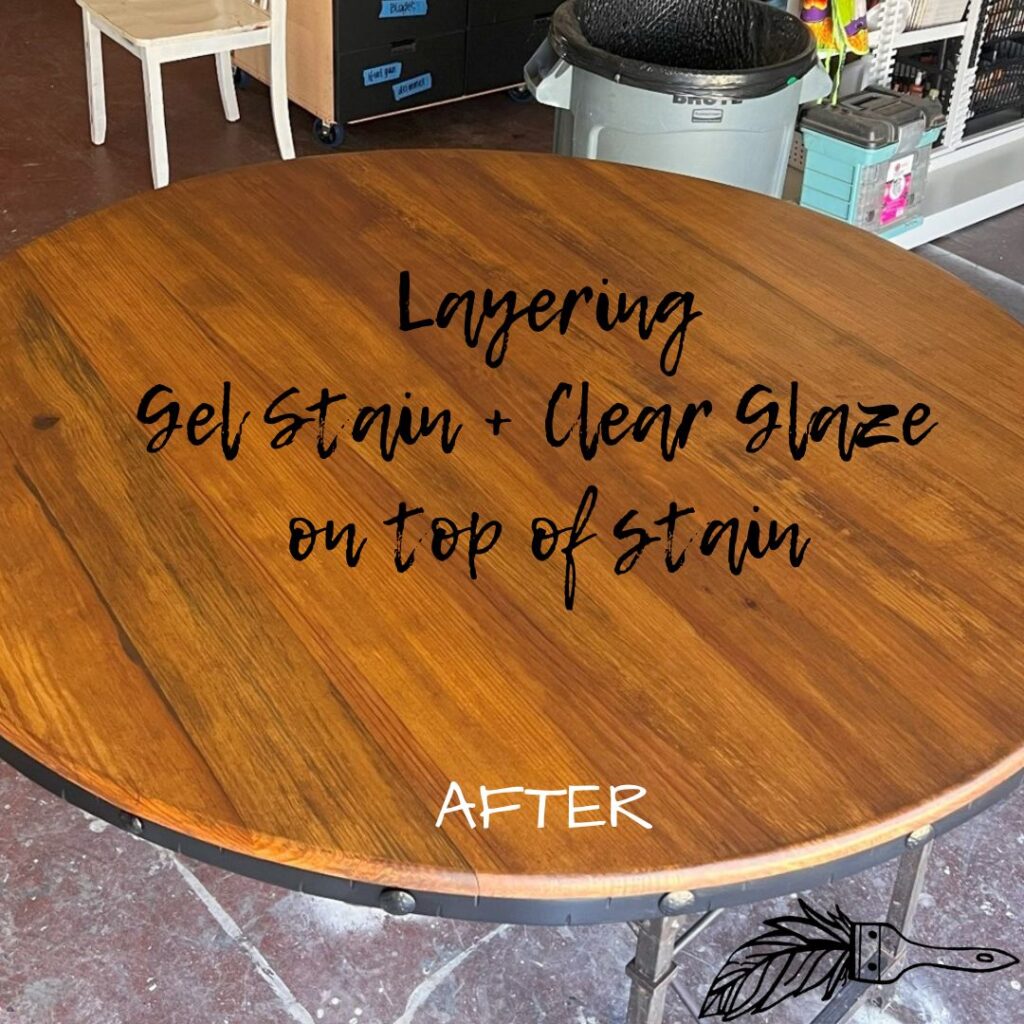
This stain ended up doing exactly what I wanted to do & evened out the color perfectly…
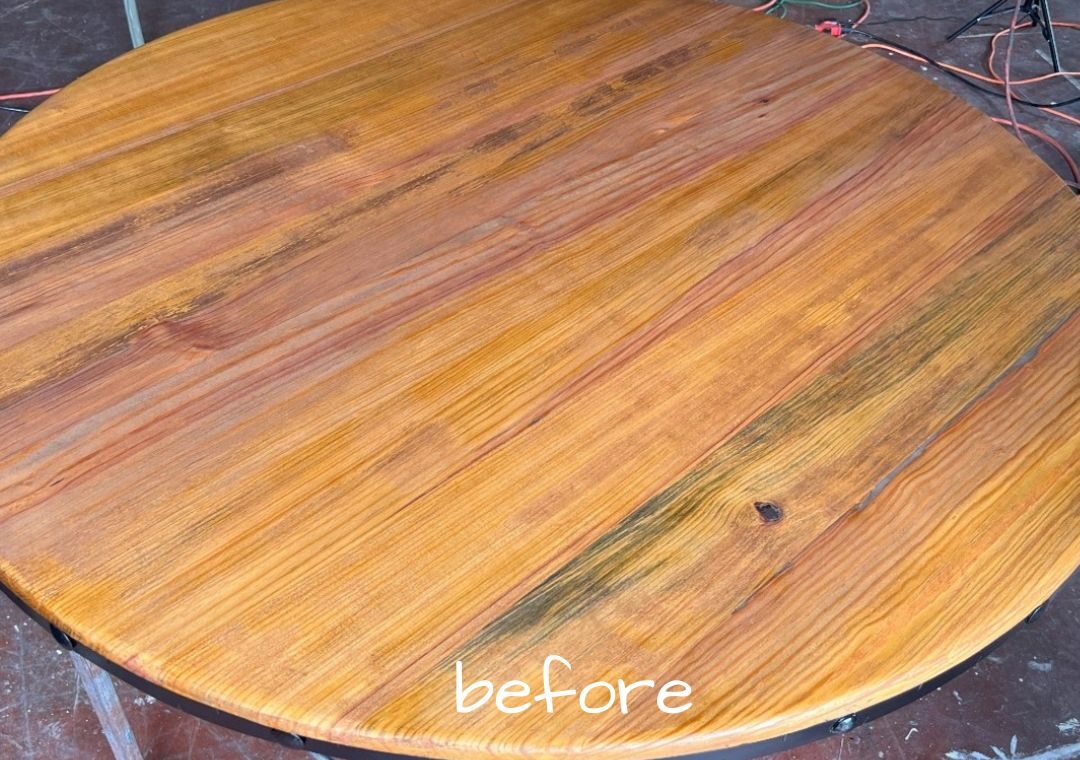
This is what it looked like before and after the glaze.
<< I used the faux stain techniqueon my bathroom cabinets- check that video out here.>>
If you would like me to do a full tutorial on this technique, let me know in the comments!
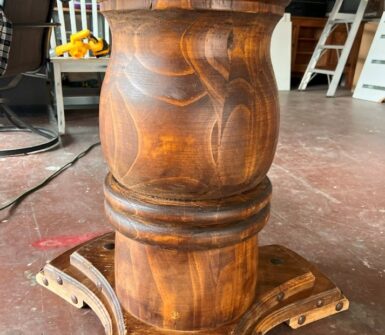
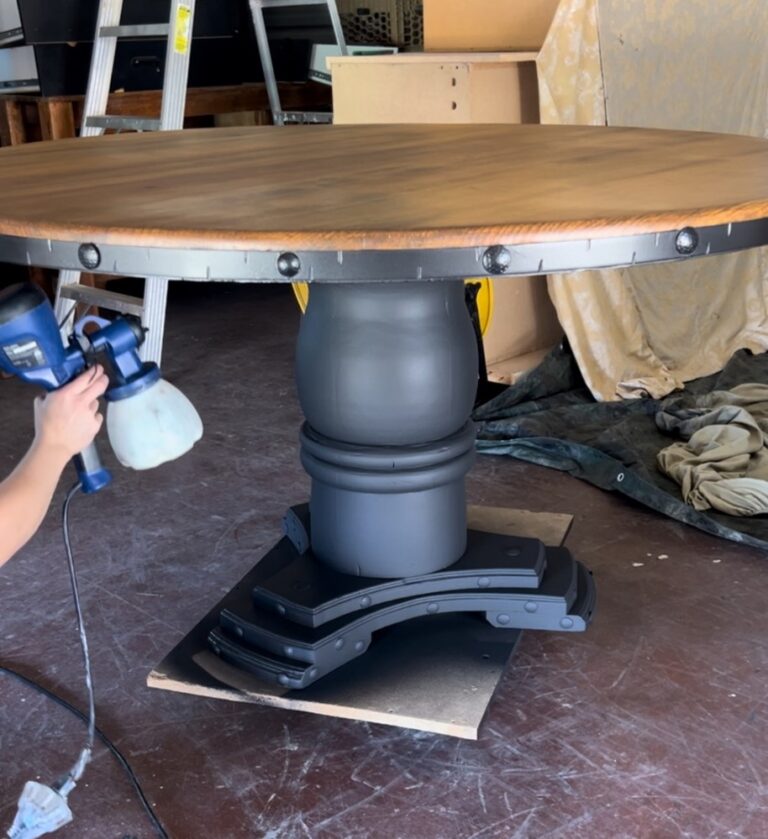
Step 9: the table base
With my glaze now drying, it was time to transition to base of the table.
Remove dust (I like to use a combination of cleaning techniques to ensure all of the dust is removed by using my mini shop blower & dusting with a clean pillow case or dry microfiber rag)
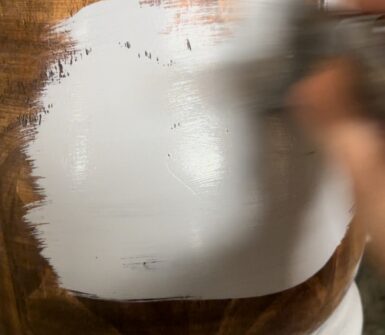
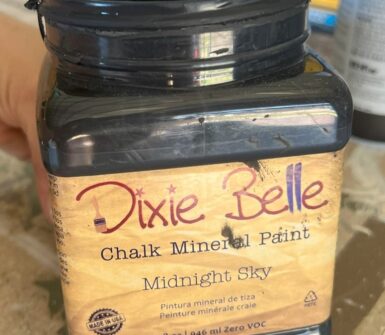
Paint Application 1: I then used my paint sprayer to apply my first coat of Dixie Belle Paint Company chalk mineral paint in the shade: Midnight Sky.
Scuffing & Dusting: Once the paint was dry, I took my sanding sponge & gave it a quick scuffing & dusting.
Paint Application 2: I then brushed my second coat of paint on with my oval medium brush & allowed to dry.
Top Coat Application: Using my paint sprayer The entire piece was then sealed with 4 coats of General finishes semi-gloss top coat. I let each application dry completely & lightly sanded with 0000 grit steel wool between each clear coat application. This is going to allow you to achieve a uniform & smooth clear coat finish.
Clear Coat Application
Question: Why did you apply 4 coats of your top coat for this project?
Answer: GREAT QUESTION! The reason I chose to apply 4 coats of my clear coat on this project is because of how much use it would get. Knowing the intended use for each piece I flip determined how many coats of my clear coat I use.
PRO TIP: How to determine # of top coat applications
These are generally the rules I follow when determining the number of top coat applications to use.
Décor (light use): 1-2 coats
China cabinets & dressers (medium use): 2-3 coats
Bathroom/Kitchen Cabinets or Tables: 3-4 coats
Outdoor furniture: 4+ coats
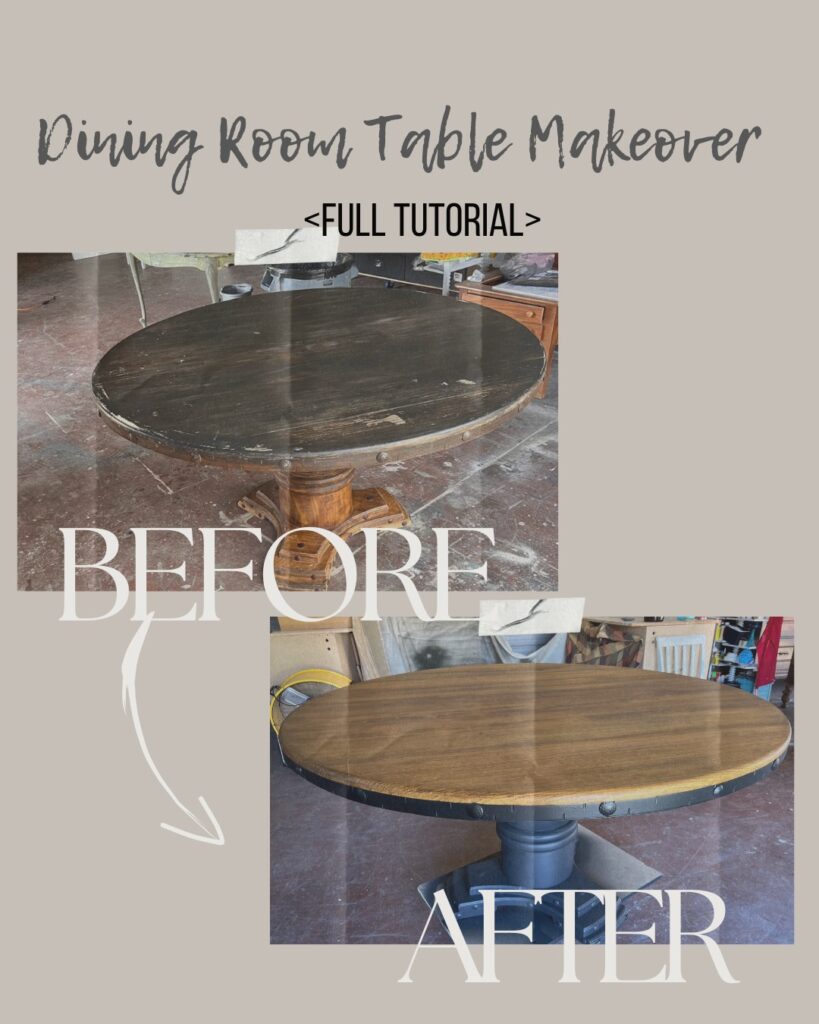
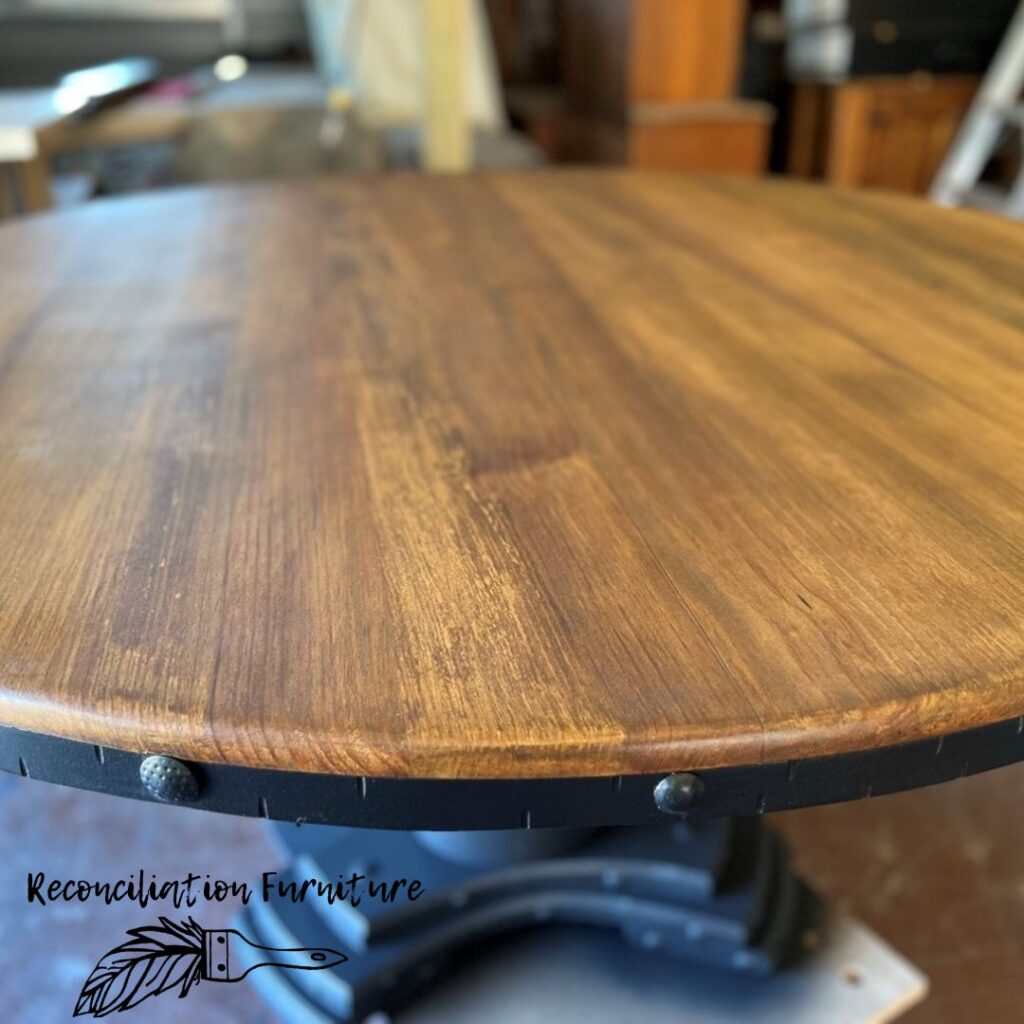
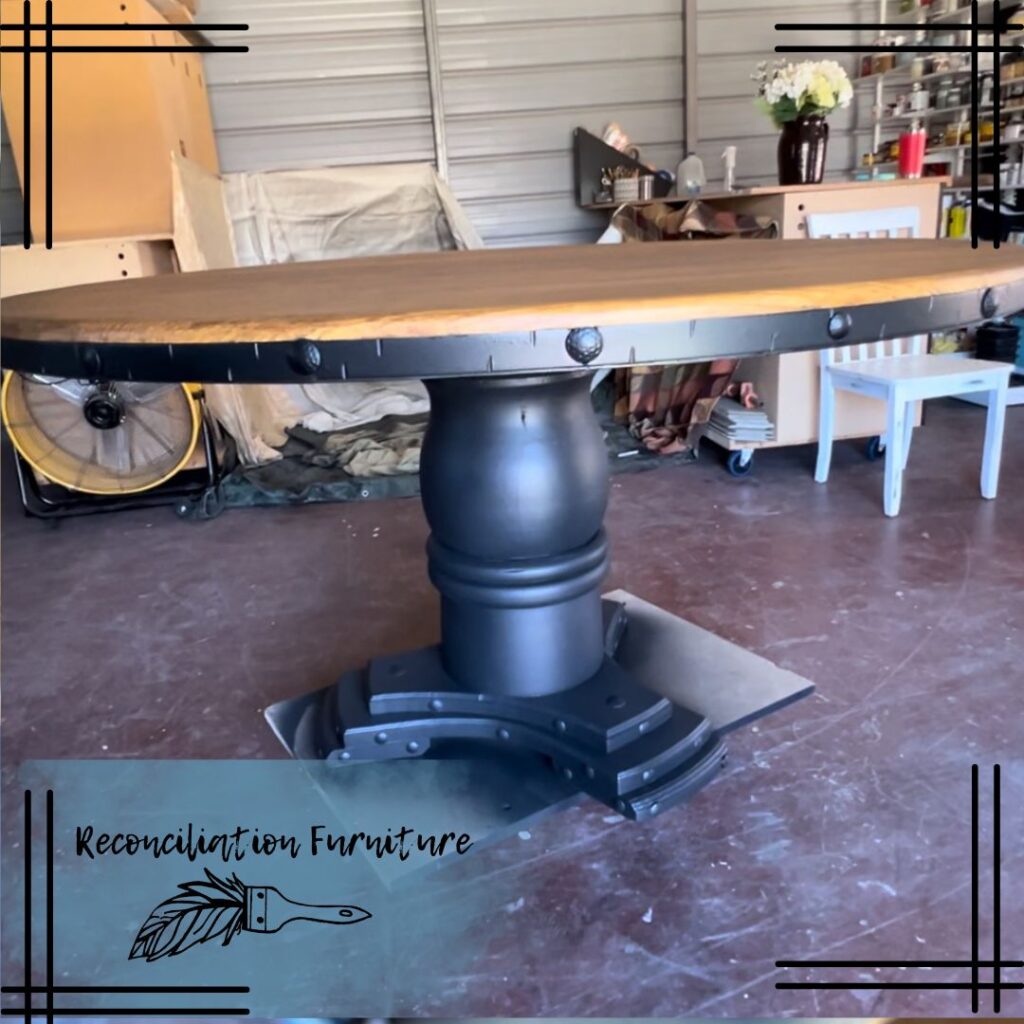
& Finally, the big reveal!
Lets take a look at the before and after!
How do you think it turned out? I love it!
In the end, I think this flip turned out beautifully and my client was thrilled with the result!
I have 7 years of experience working painting & refurbing furniture. Yet, I still learn something new from each project I take on…
If you are new to the furniture flipping game, I encourage you to be patient,experiment with new techniques and styles, and use the information & recommendations available to you from blogs & social media to guide you on your journey.
Like any trade, flipping furniture is A LOT of work but YOU CAN DO HARD THINGS, Queen!
Don’t give up and stay true to your brand. Learn from your mistakes and neverstopinvesting in yourself. You won’t become a high roller in this business overnight. Take your time, invest in the right tools and believe in yourself! Find a tribe of like minded women for support on your creative journey for quick advice and find a mentor that inspires you to keep going and when you make it, pay it forward.
If you enjoyed this flip, drop a comment and be sure to PIN it for reference!
Thank you so much for your support!
I hope that you found this tutorial helpful & would love your feedback! If there is a particular topic, product, technique, etc. that you would find helpful, please leave a comment or send me an email!
As always, I am here to help! Welcome to the tribe!