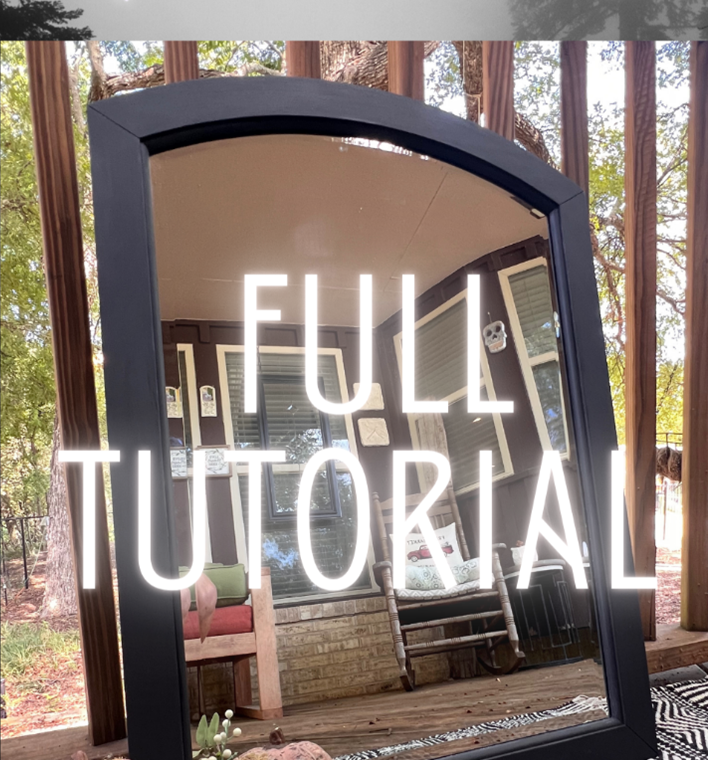
Ready to take on your first paint project? This is a beginner friendly paint project that will have massive results! All products & links provided!
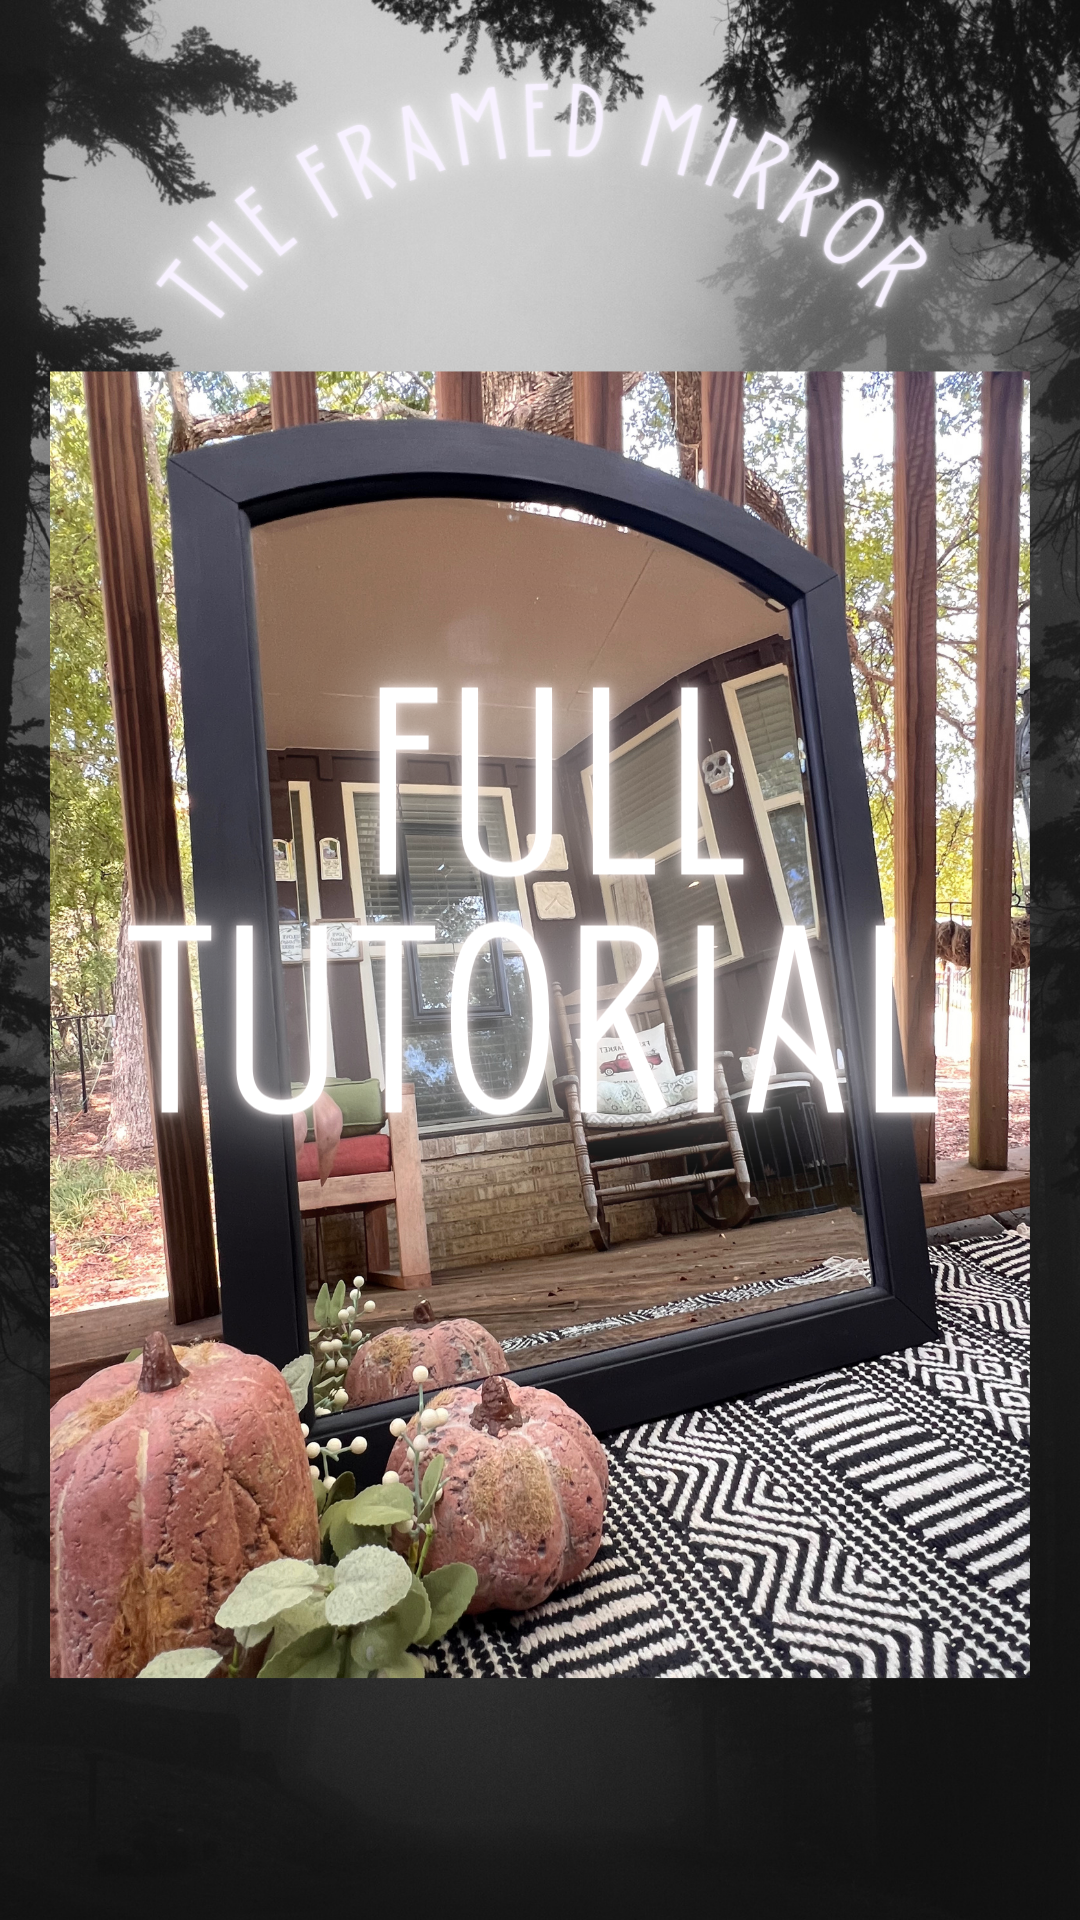
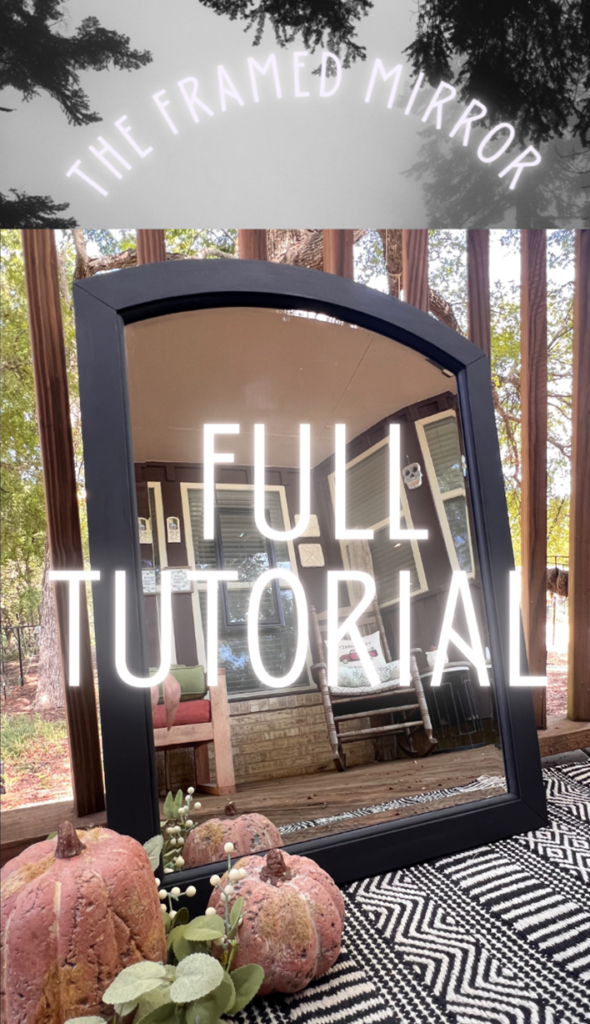
This tutorial is perfect for the beginner chalk painting enthusiast! I love how easy it is to completely change the style of a piece of furniture/décor with a little paint! Come walk step by step with me and find out how to master a small color change with product links!
Using a100 grit sanding sponge or steel wool- give the entire portion to be painted a nice scuffing- this is going to allow your paint & primer to adhere the best!
Check out my shop on Amazon for all of my product recommendations.
Next I used parchment paper & painters tape to tape the inside edges of my mirror so that only the wooden framed edges were exposed.
Note: If you get paint on the mirror- No problem! Grab a razor scrapper& THIS glass cleaner– spray the mirrored portion & then gently scrape any dried paint present. This is the best streak free glass cleaner I have ever purchased FYI.
4. Prime
Time to prime!
In a small container, I mixed a small amount of BIN 123 Primer with just a splash of black paint. In an effort to save my high quality paint- I use Waverly paint in black to do the tinting. Mix until thoroughly combined & color is uniform.
Note: It will turn your primer into a light grey, we don’t need to achieve black- we just want to give it a little darker pigment. Let primer dry completely.
5. paint
UsingDixie Belle Paint Company mineral chalk paint in the color “Caviar”– I then applied 2x coats to achieve full coverage, allowing the first coat of paint to dry completely before applying the second.
If you don’t allow wet coats to dry completely, you will see more brush strokes in your finish & create texture in the paint because you are pulling on the paint that isn’t dried.
When you’re ready, Check out my post on “How to Eliminate Brush Strokes”
Trust me, be patient and wait the full dry time recommendation, you will thank me later.
6. protect your finish
For this project, I used a semi-gloss clear coat by General Finishes. Using a small paint brush with synthetic bristles, I then applied a thin coat over the entire painted frame.
Note: Use small amounts and work in small sections- do not leave build up of your top coat on edges or in creases as you will find that those spots will not dry completely clear. I like to take a damp small detail synthetic bristle paint brush to smooth out the hard to reach areas that my clear coat likes to build up on.