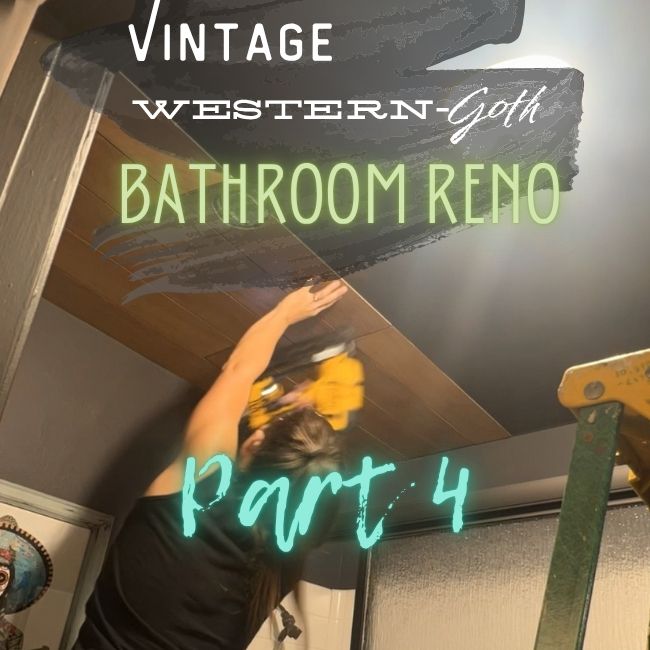
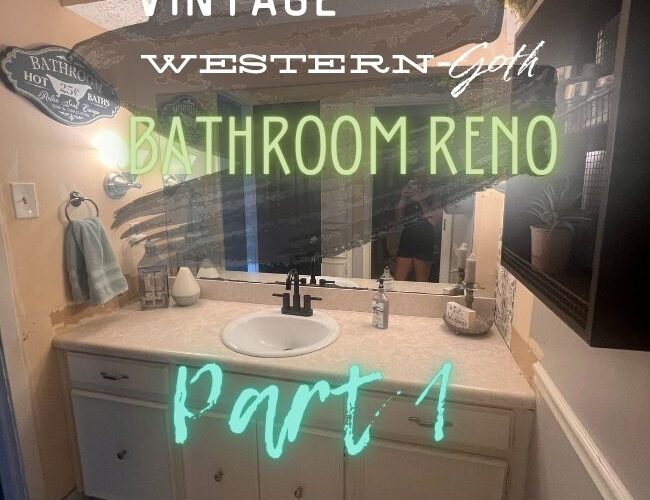
Welcome to Part 4 of my Budget Friendly Guest Bathroom Remodel! If you missed part 1-3, go check out those first- were breaking down this full bathroom transformation into six parts that will align with video-the fourth part of the related video series is linked below.
In this fourth part, we’ll cover:
Painting & Installing Cabinet Doors
Budget-friendly faux wood planked ceiling
Crown Molding Hack
Adding Textured Wallpaper to Cabinet Doors
Staining Concrete Countertops (covered in depth in a separate post)
Guest Bathroom Remodel Video Series: Part 3
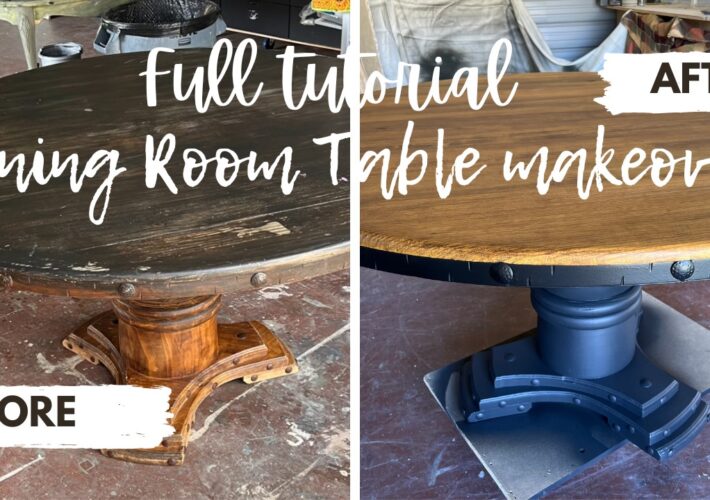
Step 1: Staining the concrete counter tops
My first task in this phase was staining the concrete countertops.
But- I’m saving the full breakdown of this process for its own dedicated blog post and video, so I’ll be skipping the details here for now.
Stay tuned- If you’re curious about DIY concrete countertops, that one is coming soon!
Next, I focused on painting the vanity cabinet doors. Here’s the process I followed:
– Stripped, Sanded, and Primed
– Painted them using my Paint Sprayer
– Sealed everything with MinWax Polyacrylic Matte topcoat to protect the finish.
Once the paint was dry & the doors were reinstalled, it was time to shift my attention to the ceiling.
Step 3: installing a faux wood planked ceiling
Lets talk about the ceilings.. removing the popcorn texture didn’t go as planned (tough subject, don’t ask). So, I went with a budget-friendly faux paneled ceiling method instead.
Here’s how I did it:
– I used 4×8 underlayment project panels, scored from Habitat for Humanity Restore for just S3.00 each!
– Cut the panels into approximately 5inch strips using my table saw
– Stained the strips, but realized they were different wood species, which created varied stain colors.NO PROBLEM! I alternated the tones during install to make it look intentional!
Before installing, I painted the ceiling black in any area where gaps between the boards would be visible. This creates depth and contrast when the boards are spaced slightly apart.
Installation:
– attached the wood strips using liquid nails & finishing nails, directly to the drywall.
– Left 1/4 in. between boards to create a shiplap effect
For a more detailed breakdown of this ceiling technique, check out my “Hallway Renovation” video here:
Let me be real: Traditional crown molding can be a pain to cut & install. So instead, I used my go-to crown molding hack using primed MDF trim to achieve the same look- without the miter stress!
This method is cleaner, easier, and looks just as good (I promise, NO ONE will know it’s not the real thing).
I break down this technique in my “Hallway Remodel” Video Series:
Step 5: Adding Textured Wallpaper to Linen Cabinet Doors
Next, it was time to add some serious personality to the linen cabinet using leftover textured wallpaper (the same style I used behind the sink).
Here’s How I did it:
-Cut the wallpaper to size
– Applied Roman’s Wallpaper Paste to both the cabinet and the wallpaper back.
– Placed the wallpaper & used a smoothing tool to eliminate air bubbles.
– Once fully dry, I painted it in- you guess it!– Black Magic.
– Next, I spray sealed with a Clear Top Coat to protect the finish.
– Finally, finished the cabinets off with simple vintage brass knobs I found on Amazon.
What’s Next?
Part 5 will be out final reveal! We’ll cover final touches & the big reveal!
That’s it for Part 4 of this budget-friendly bathroom makeover! At this point, we’ve touched nearly every surface of this space-and the transformation is almost complete! Thanks so much for following along this creative ride. I can’t wait to show you the finished result!
In the meantime, be sure to check out my “Hallway Remodel” video series if you haven’t already! Available on TikTok and YouTube!