Search here...
0
TOP
DIY

Budget Friendly Guest Bathroom Remodel: Part 1

bathroom reno part 1 cover
127 Views

Budget-friendly

guest bathroom remodel:part 1


bathroom reno part 1 cover
Part 1: Budget-Friendly Guest Bathroom Remodel
Welcome to Part 1 of my Budget Friendly Guest Bathroom Remodel! I’m breaking this full bathroom transformation into six parts that will align with video-this first part of the related video series is linked below.
 
 
In this first part, we’ll cover: 
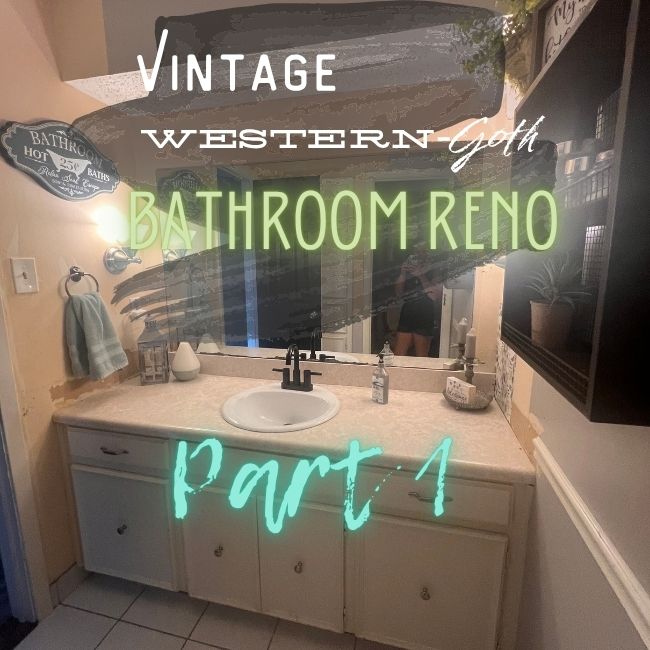
 
  • Before Pictures
  • Removing the dated tile floors
  • Repairing damaged drywall to prep for wallpaper
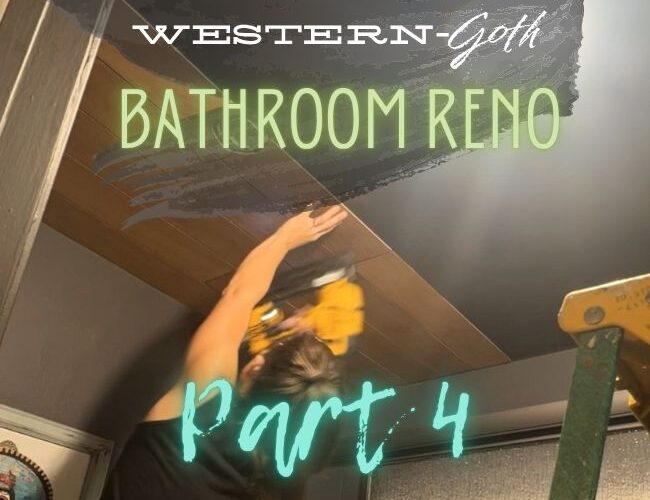
  • Installing salvaged beadboard paneling
💡 Quick Note: You may notice a few unconventional choices in the order of tasks I tackle. Since my husband works from home and has frequent meetings, I have to jump between quiet and noisy projects throughout the day!
Guest Bathroom Remodel Video Series: Part 1
Before picture of guest bathroom remodel
Removing Tiles from floor
Step 1: Bye-Bye, Dated Tile Floors
First things first- those old tile floors had to go! Tile demo is always a mess, but once the debris was cleaned up, I could finally assess the walls and start planning my next move.
 Shop Tools & products used in part 1 available on amazon: Bathroom Remodel Part 1 Tools on Amazon
drywall damage from removing old wallpaper
installing hardboard wallcoverings on textured walls to install wallpaper
Step 2: Wall Woes & a Creative Fix
The walls were covered in multiple layers of old-school wallpaper. When I attempted to remove it, the drywall underneath took a beating—and let’s be honest, I’m not a huge fan of drywall repair.
Since I planned to use self-adhesive wallpaper on the upper part of the walls, I needed a smooth, clean surface. My solution? Hardboard project paneling—basically, sturdy cardboard-like 4’x8′ sheets. I found them at Habitat for Humanity for just $3 per sheet. Win!
I cut them to size using my table saw, then attached them directly to the existing drywall using Liquid Nails and finishing nails. It’s a budget-friendly, effective way to create a flat surface over lightly textured or damaged walls—perfect for wallpapering.
Link to view “project paneling” at Lowes: 48-in x 96-in Smooth Paintable Hardboard Wall Panel ( 32-sq ft ) in the Wall Panels department at Lowes.com
installing beadboard wall paneling
Step 3: Wall Woes & a Creative Fix
For the lower half of the walls, I repurposed some beadboard sheets I had saved from a previous remodel (yes, I hoard construction materials for moments like this!). I sanded down any imperfections with high-grit sandpaper and installed them using the same method-liquid nails adhesive and finishing nails.
Link to view “beadboard paneling” at Lowes:
 beaded/stainable/Paintable beadboard
What’s Next? 
In part 2, I’ll be stripping the old vanity and showing you my process for transforming dated laminate countertops into modern concrete-all for under $100.
 That’s it for Part 1 of this budget-friendly bathroom makeover! Tackling the floors and walls was a messy start, but it set the stage for everything else to come. I’m excited to keep sharing each phase of this transformation with you-one step (and one thrifted find!) at a time. Stay tuned for Part 2! 

See you next time!! 

bathroom reno part 1 cover
boho furniture artist

dont miss out on any of the fun!– follow me:

#bathroomremodel, #bathroomrenovation, #diyremodel, #diy , #bathroommakeover, #removingtilefloors, #beadboard, #drywalldamage, #DIYProjects, #homerenovation, #homeimprovement, #reconciliationfurniture, #reconciliationcollection, #trendingbathroomremodel, #trending

«

»