Budget-friendly
guest bathroom remodel:part 3
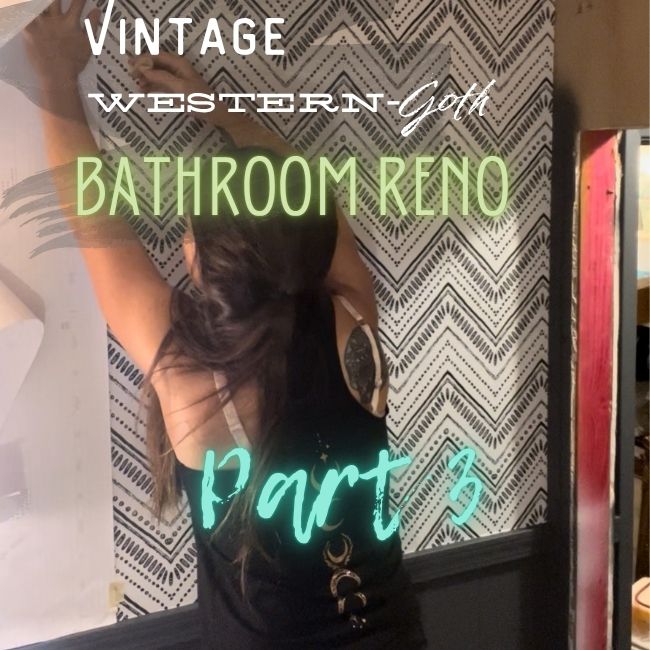
Part 3: Budget-Friendly Guest Bathroom Remodel
Welcome to Part 3 of my Budget Friendly Guest Bathroom Remodel! If you missed part 1 or 2, go check out those first- were breaking down this full bathroom transformation into six parts that will align with video-this third part of the related video series is linked below.
In this third part, we’ll cover:
-
Painting & custom color mixing
-
Updating shower hardware with spray paint
-
Installing new tile floors on a serious budget
-
Combining wallpaper patterns for balance
-
Framing Doorways & Installing Baseboards
-
Painting with my favorite Black Paint EVER!
 Quick Note: The bathroom is coming together in layers, and were still working around my husbands work-from-home-schedule- so some of the order may be unconventional. (but hey, were making it work!)
https://youtube.com/shorts/gw8BMS8eEws
Guest Bathroom Remodel Video Series: Part 3
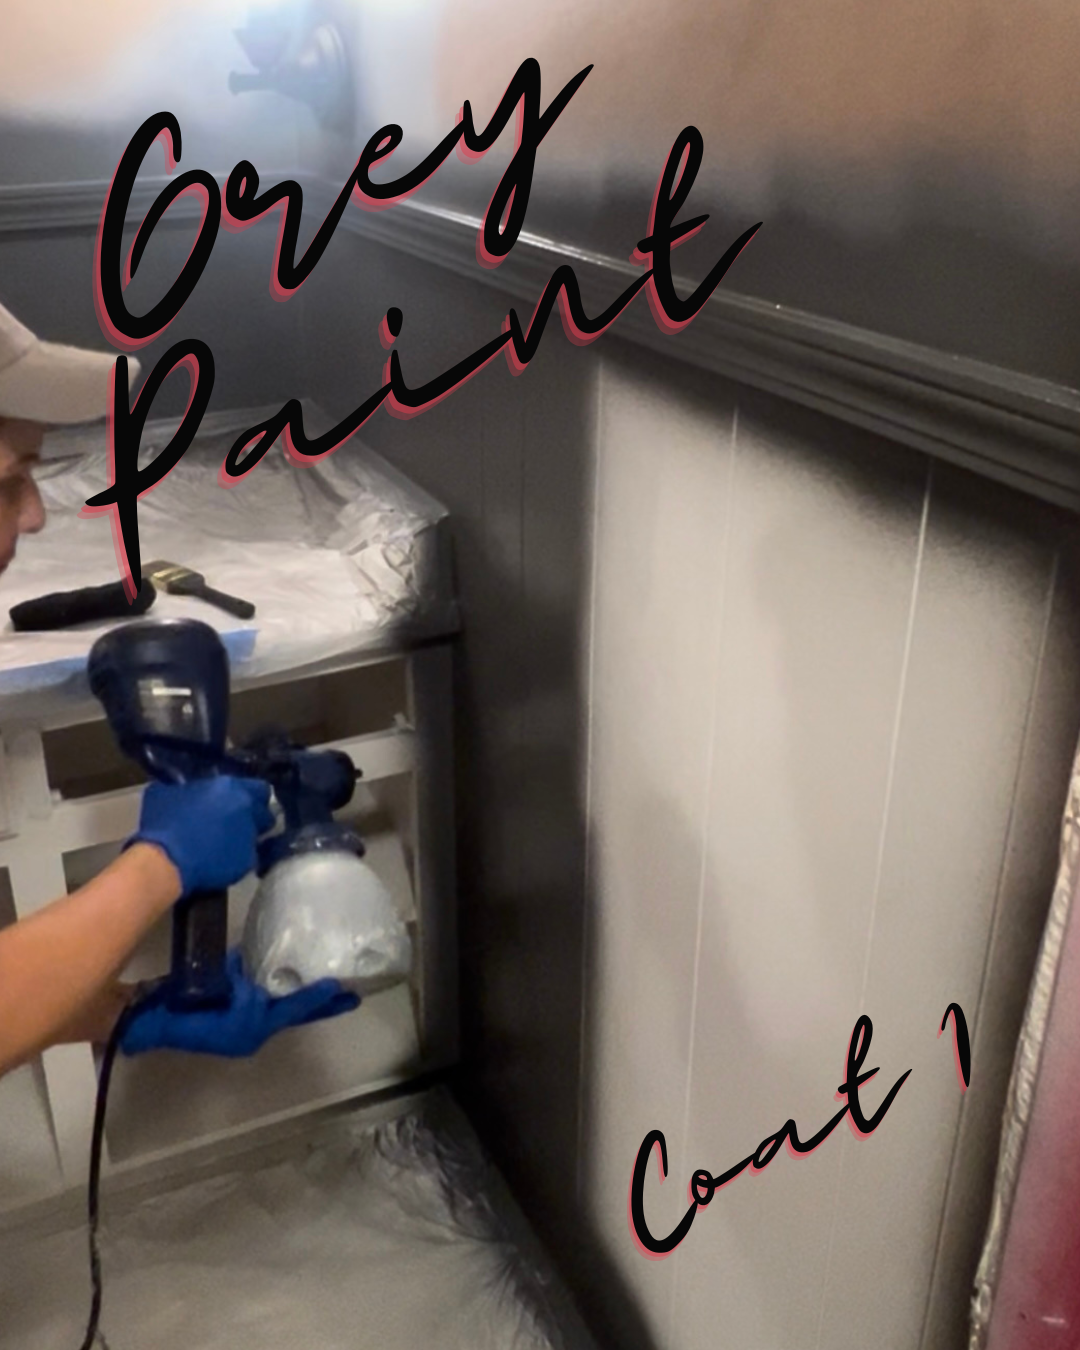
Step 1: painting trim, vanity & lower walls
I started by painting the trim, lower wall paneling and sink vanity with a custom grey paint I mixed from clearance rack finds. I managed to create a whole gallon for just $12.00! not only was it budget-friendly, but it gave me the exact tone I wanted for the space. Once I combined all of the grey paint samples into one gallon container, I then added black paint to darken until I reached my perfect color.
SAVING THAT MONEY HONEY!

Step 2: Shower Door Update with SPRAY PAINT!
Next up, those silver shower doors had to go (well, visually at least). I am not a huge fan of silver and since this space was suppose to capture a very moody, dark vibe- I felt the silver would POP in all of the WRONG ways! When researching what it would cost to replace the doors, I found that I was looking at spending a minimum of $500-$700 for something extremely basic, NO FREAKING WAY IN HELL WAS I SPENDING THAT ON THE GUEST BATHROOM!
Time to get creative! I knew I could come up with an alternative method to accomplish the task for less! One thing I am is RESOURCEFUL!
Here are the steps I took to accomplish this task:
DIY SHOWER FIXTURE MAKEOVER TUTORIAL
Step 1: Scuff sanded surface with a sanding sponge. Followed by a thorough clean of the metal
Step 2: Masked off surrounding areas with construction paper & painters tape
Step 3: Spray painted with Rust-Oleum Black Primer
Step 4: Followed with Rust-Oleum Matte Black Spray Paint
Step 5: Sealed with Rust-Oleum Clear Matte Topcoat
Step 6: Used lacquer thinner for clean-up of over spray.
Total Cost: Under $30 Total Satisfaction: HIGH
Shop Materials for DIY Shower Update:
Reconciliation Collection on Amazon.com

Step 3: Budget Tile Score at Habitat for Humanity
I originally planned to buy my tiles from Lowes or Home Depot- but at $300-$400, it felt steep. I was pretty confident that I could track down flooring elsewhere for a better price. So, I made a last-minute stop at my local Habitat for Humanity Restore to check out their inventory, and I am so glad that I did! They had almost the EXACT tile floors I was eyeing at Lowes & Home Depot for less than 70 cents per square foot, saving me $195-$295 compared to big box stores.
CHAAAACHINGG!!!!
![]()

Step 4: Mixing Wallpaper Styles for Balance
Next, I shifted my focus to the upper portion of the walls! I decided to use a combination of wallpapers to create balance to the small, dark space. I wanted the wallpaper to help brighten the area just a touch while staying true to the dark aesthetic.
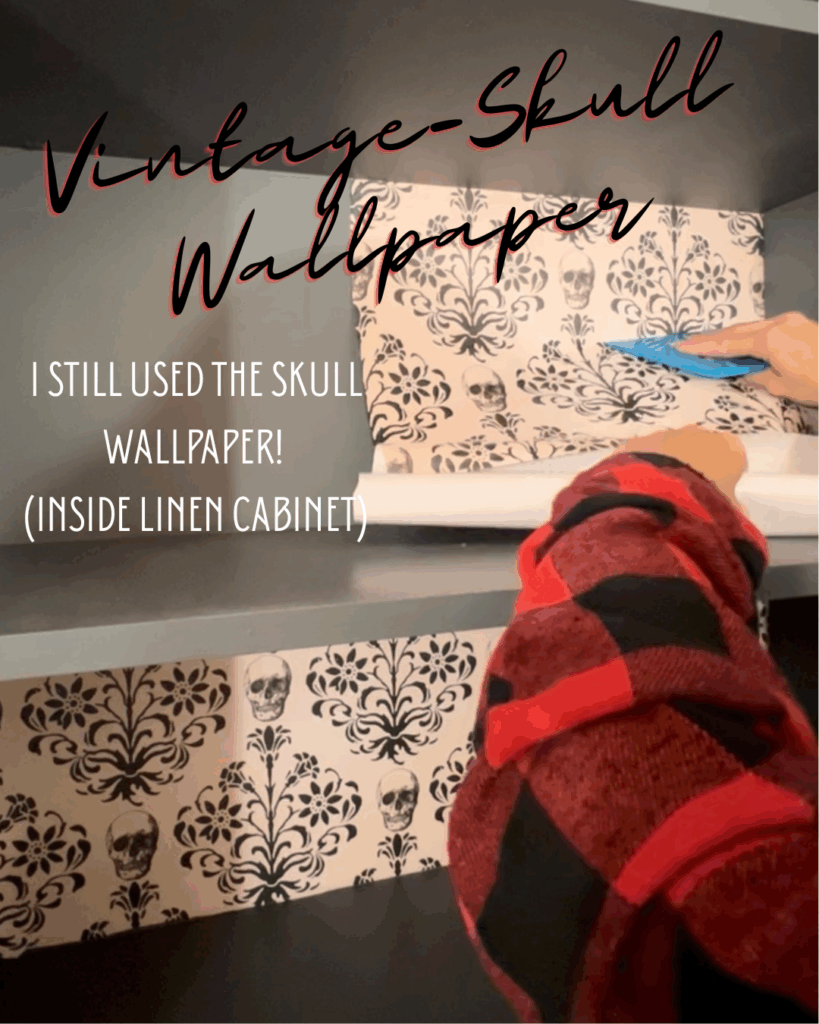
My original plan was to use a gorgeous vintage-skull wallpaper I purchased before having a place or plan to use it. When it got down to final decision making, I thought about my in-laws coming to visit and chickened out!
Instead, I found a beautiful boho-chevron pattern wallpaper on Amazon that fit perfectly with my vintage western-goth vibe (in-law approved). I applied this pattern in the sink portion of the bathroom-excluding the wall behind the sink.
For the wall behind the sink, I chose a paintable textured wallpaper. We will get to painting this later in this post. I did end up finding a spot to use the vintage-skull wallpaper that was a little more appropriate!
Check out the picture below, where I added the skull wallpaper in the backs of the linen cabinet!
Shop “Wallpaper & Supplies” on Amazon:
BOHO Chevron & Textured Wallpaper Supplies


Step 5: Door Framing & Baseboards
The original bathroom layout had a door between the shower & sink areas, but the previous home owner’s removed it and left the frame behind. I couldn’t leave it looking unfinished! So, I removed & reframed the opening with select pine. Next, I replaced the door molding with 1×3 select pine which I will later paint. Followed by cutting and installing new baseboards throughout, using my favorite Dewalt cordless finishing Nailer to secure into place. Once my framing and baseboards were secured, I then caulked all of my seams to create a clean, finished look.
Then, it was time for paint! I painted everything in my current favorite paint color by PPG: “Black Magic” (PPG1001-7)
I loved it so much that I made a Color Spotlight video on Tik Tok highlighting this stunning paint color! You can view that video & this paint with much clearer detail in the link here: Black Magic Paint Color Spot Light Video
Link to view “ALL BATHROOM RENO SUPPLY LIST” on Amazon:
The full Material List

Step 6: Painting Paneling Black for Contrast
While painting the doors and textured wallpaper, I decided to ditch the grey paneling. Why? I realized the concrete countertop stain would also be grey-and it felt like too much of the same tone. The solution: paint the paneling in Black Magic, too. It gave the room a bold, cohesive feel that I LOVE!
Also, I fell in love with this new paint color discovery, Black Magic, and I was trying to come up with other places to use it on!
FYI, I am NOT affiliated with PPG or paid to promote their products… Yet! **wink,wink**
Where ya at PPG? Hire ya girl! haha
Check out the before (grey) vs. after (Black) side-by-side comparison- What do you think? I think it was 100% the right call!
You can view this paint shade with much clearer detail in the link here: Black Magic Paint Color Spotlight Video


What’s Next?
In part 4, we’ll stain the concrete countertops, tackle the ceiling using a faux wood paneling technique that looks high-end & finish with my crown molding hack.
That’s it for Part 3 of this budget-friendly bathroom makeover! We made major visual progress, and it finally feels like the space is coming together. Thanks for following along on this creative journey- I can’t wait to show you what’s next!
See you next time!!
![]()
dont miss out on any of the fun!- follow me:
Facebook
Youtube
Link
Tiktok
Instagram
Pinterest