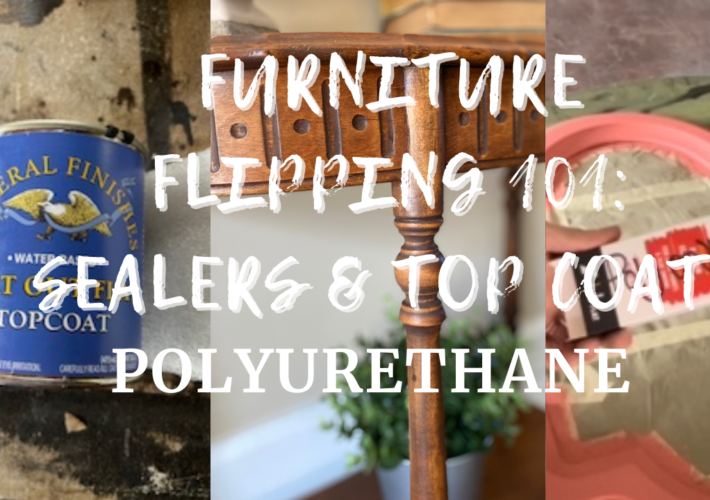
furniture flipping 101:
Polyurethane Top Coat Sealers
Everything you’ll ever need to know about using polyurethane top coat sealers to seal your painted furniture… and tips that will have you applying that top coat like a PRO!
Happy Friday & Welcome to the Reconciliation Furniture BLOG- I am Savannah- Owner of the Reconciliation Furniture flipping brand. If you are looking to tips & tricks, product recommendations, furniture flipping, DIY, Home remodels, and the like… or if you just happen to be a BADASS mammerjammer… then this blog is for you!
If you are a returning reader, WELCOME BACK TRIBE!
Thank you so much for your continued support & please drop a comment if there are any topics you’d like me to talk about! The blog is for YOU! So tell me what you’d like to read about it!
Help a girl out: Constructive feedback is always welcome! Please let me know how I can make these posts work best for YOU! I am not the best writer but I am a seasoned DIY & furniture flippin hustlla babyyy, so come here for the education, community and resources! I will try my best to deliver this information in a way that is fun to read but I felt the need to set some clear expectations, up front!
Furniture flipper, yes.
Writer, no.
I am a zero bullshit, honest, hardworking #diymom #diyfurnitureflipper, #diyhomerenovator, #diywife, #resourceful, #bugetfriendly, #natureloving, #mentalhealthadvocate, #bossbabe that tends to need to make mistakes myself & this is my outlet to share my successes, failures and inspiration to pave a smoother course of action on their unique DIY ventures.
With that, Lets dive into our topic for this post.. Sealing & protecting your painted & refinished furniture with polyurethane top coat sealers.
furniture flipping 101:
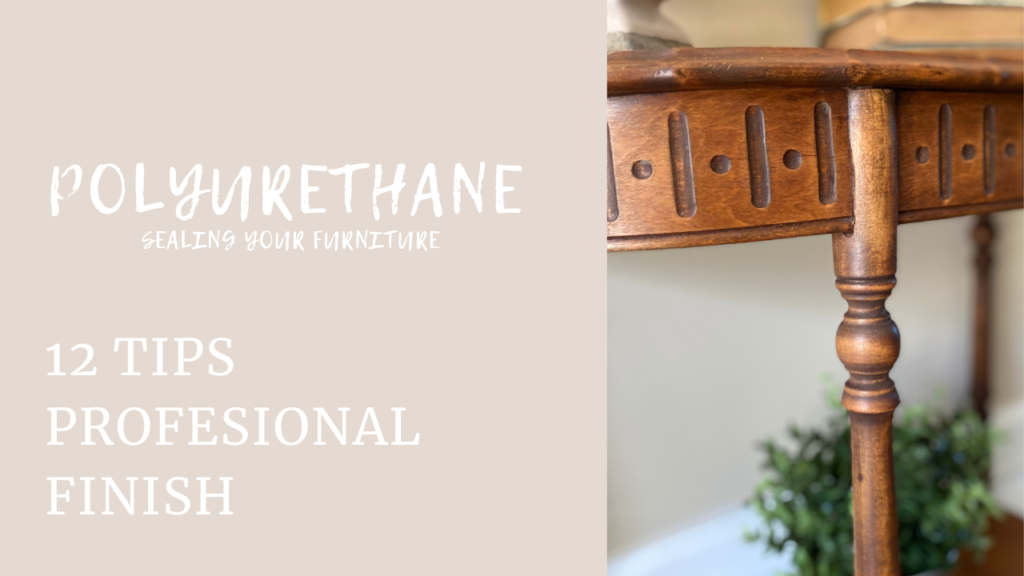
Polyurethane Top Coat Sealers
Everything you’ll ever need to know about using polyurethane top coat sealers to seal your painted furniture… and tips that will have you applying that top coat like a PRO!
Hey there, fellow DIY tribe!
Ready to add that flawless finishing touch to your furniture flips? Today, we’re diving into the wonderful world of polyurethane top coats. But before we jump into the nitty-gritty, let’s have a quick chat about what these magical coatings are and why we can’t live without them.
The two most commonly used top coats are Polyurethane & wax. Today, we will be focusing on polyurethane top coats, but check back later for a full break down on wax furniture sealers. I promise, to cover wax in the near future.
What is a Polyurethane?
Polyurethane top coats, or “poly” are like the superheroes of the furniture world. They’re clear protective layers that shield your painted and refinished masterpieces from scratches, stains, and general wear and tear. Think of them as your furniture’s own personal bodyguard, ensuring it stays looking fresh and fabulous for years to come.
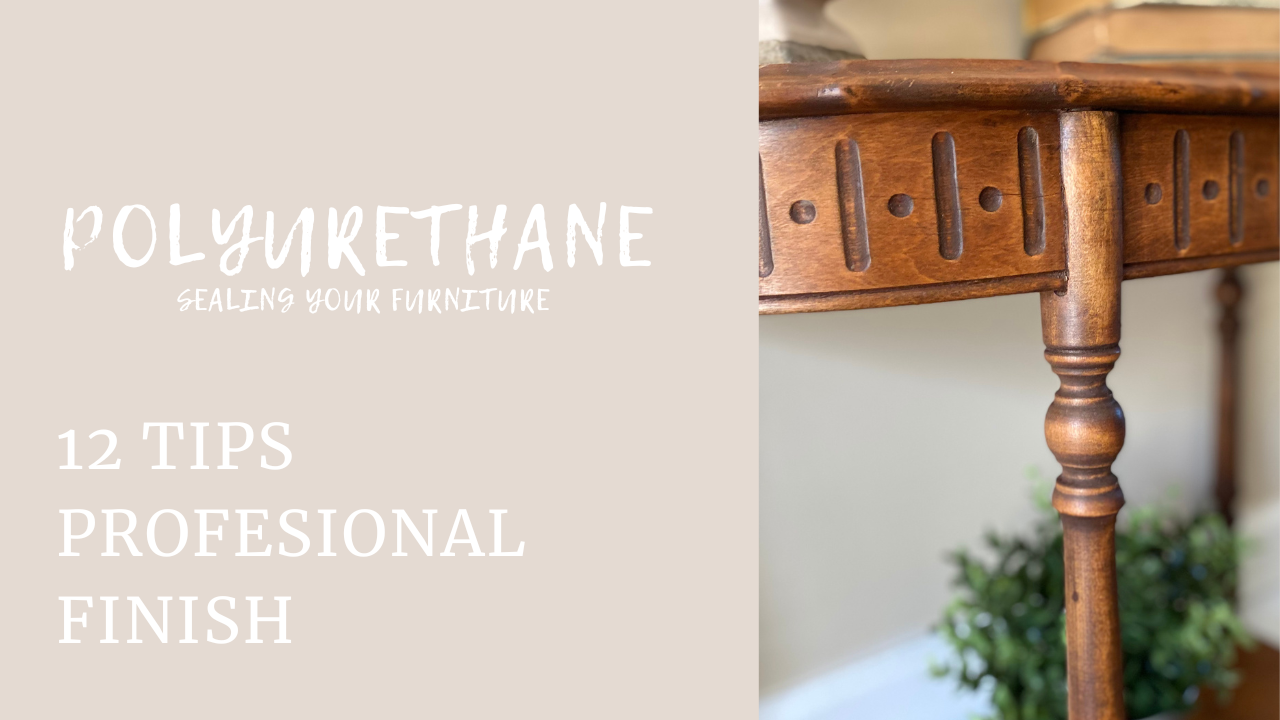
Now, let’s get down to business with these 12 easy-peasy tips to make your furniture flips shine!
Polyurethane top coats: 10 Tips & tricks to the perfect finish
No. 1 – prep like a pro: Sand it smooth
Before applying polyurethane or “poly”- make sure your furniture is as smooth as a baby bottom. Sand it down with fine-grit sandpaper to create a flawless base.
No. 2 – clean af: wipe it down
Dust and debris are the enemies of a perfect finish. Give your furniture a good wipe-down with a tack cloth to ensure its squeaky clean before coating.
No. 3 – brush with confidence: use the right applicator
Use a high quality brush or foam applicator for smooth, even application. Say no to streaks and drips!
No. 4 – thin is in: Apply thin, even coats
Resist the urge to slather on thick coats of poly. Thin layers dry faster and give you better control over the finish.
No. 5 – patience is a virtue: Let it dry!
Don’t rush the drying process. Give each coat plenty of time to dry completely before adding another layer.
No. 6 – Sand between coats
Lightly sand between coats with fine-grit sandpaper to remove any imperfections and achieve that silky-smooth finish.
No. 7 – Water base poly + mister bottle
Use a water misting bottle and lightly spritz the area you are applying poly to. The water is going to keep the poly open long enough to allow you to cover the full area you are working on & then smooth the full area with your paint brush to ensure the brush strokes are long and even.
no. 8 – go with the grain
Always apply polyurethane in the direction of the wood grain for a professional-looking finish.
No. 9 – 1 brush dedicated to poly only
Dedicate a paint brush for polyurethane top coats only! This is going to help by ensuring that no color staining happens on your brush that might be missed during washing. Also, poly dries much like a glue would and can ruin a brush quickly if not properly washed after use. Keep a water cup near by to soak your poly brush seperately from your paint brushes & allow you some time to get to washing.
Tip No. 10 – 100% brush stroke free
I highly recommend investing in a paint sprayer if you do not have one already. Applying polyurethane with a paint sprayer is going to give you that perfect, stroke free coverage, every time.
This is the paint sprayer that I currently use in my furniture flipping business>> paint sprayer.
This paint sprayer has been perfect for furniture flipping and has been such a time saver.. Definately worth the investment.
No. 11 – avoiding white “build up” trick
I recommend keeping a small, damp detailing brush on hand to remove the build up in corners and edges quickly. Use the damp brush to brush out the build up that can dry white and ruin the perfect application.
No. 12 – avoiding contamination
NEVER EVER, EVER use the orgiinal container to dip your brush when applying poly- Even when your paint is dry, your brush can pick up small amounts of contaminates that will taint the polyurethane and ruin the color for future paint projects. I promise, your future self will thank you for taking the extra step.
There you have it, folks! With these 12 simple poly tips, you’re well-equipped to tackle polyurethane top coats like a seasoned pro. So grab your brushes and your favorite poly top coat & let’s seal the deal on some stunning furniture flips! Now, with the help of polyurethane, your artwork will be protected to last for years to come! Remember, the only limit to your creativity is your willingness to try.
Happy Flipping!
Product recommendations:
(with amazon links)
- Minwax Polycrylic Protective Finish
- Rust-Oleum Varathane Ultimate Polyurethane
- General Finishes High Performance Water Based Topcoat
- Dixie Belle Paint Company: Gator Hide
- Dixie Belle Paint Company: Clear Coat
Click on the LINK: “furniture sealers & top coats” to view all of these products side by side on my amazon storefront!
These are my go to brands when purchasing poly for my furniture flipping business! These manufacturers are backed by trusted brands & have always met or exceeded my standards for quality. Any choice from this list will give you a flawless finish!
I hope that you found this post helpful & would love your feedback! If there is a particular topic, product, technique, etc. that you would find helpful, please leave a comment or send me an email!
As always, I am here to help! Welcome to the tribe!
-Reconciliation Furniture

dont miss out on any of the fun!- follow me:

